My Favorite Yoga Teaching Books

Yoga Teacher Books

Yoga Teacher Books

I often get asked for book recommendations for improving a physical yoga (yogasana) practice. Without hesitation, I recommend yoga teaching books. You may be surprised that I would suggest that you read books meant for teachers, but they are loads smarter and more interesting than your everyday how-to yoga book. While a book meant for a consumer audience gives you basic alignment and a little filler for a pose like Virabhadrasana 1 (Warrior 1), a teacher’s book provides detailed posture descriptions with pictures and illustrations, health benefits, cautions/contraindications, verbal cues that a teacher might use, modifications, variations, teacher assists and adjustments, anatomy, and kinematics. If you learn and practice as a teacher would, it will significantly enhance your home and in-class practices by unpacking teacher cues and adjustments. Being able to modify a pose as needed and explore variations is not only satisfying but empowering. You’ll learn when a posture may be inappropriate for you. And you may well become versed, not only in the Sanskrit names of asanas (postures), but in the language of anatomy as well. One of my favorite sections of a yoga teaching book is sequencing. I love to see how other teachers craft a class and I like practicing a sequence that a different body’s intelligence inspired.

Of course, asanas are just one part of a yoga teaching book. There is so much more including yoga history and philosophy; chakras (energy);  meditation, pranayama (breathwork)….

My Favorite Yoga Teaching Books (in no particular order)

Instructing Hatha Yoga by Kathy Lee Kappmeier and Diane M. Ambrosini

Teaching Yoga: Essential Foundations and Techniques by Mark Stephens

Yoga Teachers’ Toolbox by Joseph and Lilian Le Page

Yoga Posture Adjustments and Assisting: An Insightful Guide for Yoga Teachers and Students by Stephanie Pappas

The following may not technically be teacher books, but they have informed my practice and teaching immeasurably.

Ashtanga Yoga: The Practice Manual by David Swenson

Yoga: The Spirit and Practice of Moving into Stillness by Erich Schiffmann

Light on Yoga: Yoga Dipika by B.K.S. Iyengar

Yoga: THE PATH TO HOLISTIC HEALTH by B.K.S. Iyengar

The Woman’s Yoga Book: Asana and Pranayama for All Phases of the Menstrual Cycle by Bobby Clennell (don’t let the title deter you; this is my personal favorite for detailed illustrations of Iyengar’s postures and prop use. It is truly one of the best books out there for learning Iyengar alignment and is absolutely relevant for men in this regard!)

Scientific Keys Vol. II: The Key Poses of Hatha Yoga by Ray Long

I had to stop myself here before I listed the entire contents of my yoga library!

Namaste, Michele

Sitting on the Floor…A Proposal

I start my yoga classes asking students to sit on the floor. I often ask “has anyone sat on the floor this week – aside from a yoga class?” I get a lot of “no’s.” Then I suggest opportunities for converting couch/chair sitting to floor sitting/squatting, such as when you are watching TV or reading or try performing activities at a low table like paying bills, computer time, eating meals, playing games, etc.

Sitting at a desk or on the couch/recliner/easy chair for long periods of time is associated with cardiovascular disease, diabetes, and many cancers, which means it increases your risk of death from one of these diseases. One study showed a 61% greater risk for those who sit 7+ hours per day watching TV over those who sit less than 30 min. When you sit on furniture, especially cushy furniture that molds itself to your body, thus casting it into the shape of said furniture, you end up nearly motionless for long periods of time. You use few skeletal muscles when you lounge back on the couch. Idle muscles burn less fat (you get fat), respond less effectively to insulin production (you get diabetes), and promote less blood flow. Poor circulation in legs results in unsightly swollen ankles and puts you at risk for varicose veins and, even worse, blood clots. Muscles that sit around on easy chairs don’t contribute to cellular waste removal and conduct less energy to boot. Slouching back on a comfy sofa puts you in a tail tucked position that can, over time, result in pelvic floor disorders.  When you sit on your tailbone, as a slouchy couch promotes, you risk herniated spinal discs, pressure on your sciatic nerve – which can lead to the painful condition of sciatica – and weak butt muscles. Sitting with your hips and knees flexed for long periods of time, in any type of chair, decreases range of motion in your hamstrings and limits hip mobility, which is a major cause of falls in older persons. While it may seem comfortable while you are doing it, when you get up from your recliner after a Netflix binge, you are sure to experience a stiff spine and sore low back, shoulders, and neck.

So what happens if instead of slumping onto the couch, you choose instead to sit on the floor? When you sit on the floor, with your back unsupported by anything other than your own musculature, you in fact strengthen that supporting musculature otherwise known as the postural muscles of your trunk aka your core. A daily practice of sitting on the floor with your back unsupported (this means you don’t sit against a wall or couch) strengthens the stabilizer muscles that protect your spine, as well as trims your waist in a natural, functional way. I would put my money on floor sitting over abdominal crunches as the optimal way to strengthen my core ANY DAY. When your postural muscles are firing at their optimal lengths, you become strong enough to align or stack your vertebra, bringing back the natural, compression reducing, curves of your spine. When you sit on the floor, you are more likely to be on your sitting bones rather than on your tailbone, which is better for your pelvic floor musculature and your low back. Hanging out in seated postures on the floor increases your tolerance to greater ranges of motion in your joints, which results in a sensual experience of more flexibility. You feel less stiff, less tight.

When you sit on the floor supporting your own spine, you squirm. You don’t sit still. You move about. Frequently changing positions articulates your joints into many different angles, causing a seemingly infinite variety of loads to the tissues of your spine, pelvis, hips, groin, and legs. Different loads stimulate different muscles which, through the process of mechanotransduction, pushes blood into the smallest of blood vessels, innervates the tissues, and removes waste products.

When you sit on the floor, you do something you almost never do on furniture – you stretch. Just sitting on the floor in a cross-legged position provides passive tensile and compressive loads to your connective tissues, increasing strength and suppleness. But active stretching is likely to happen as well. Once you’ve shifted your position a dozen times to get comfortable, you’ll usually give in and just begin actively stretching your muscles! This would not happen if you were in a chair. Just sayin.

Claudio Gil Araujo is a Brazilian researcher who studies people’s’ ability to get on and off the floor as a marker of longevity. Basically, those study subjects that had to use one or both hands, an arm, their knees, a lower leg, a hand/s on their leg/ as a brace, or momentum to stand up from a floor-seated position, had a greater mortality rate as compared to those who could bring themselves from a floor seat to standing and back to a floor seat using only the strength of their bodies. While internal force production, or being able to mobilize and lift your own body weight, may not predict how long YOU will live, it is certainly a marker of functional health and reflects your mobilities and strengths at the deeper level of your cells and blood vessels.

Lose points for:

Lose points for:

In the image above, you would lose points in your overall sit/stand test score for using a hand, knee, forearm, hand on knee, or side of leg to brace or leverage getting on/off floor.

Here is a video of Araujo’s sit/stand test, with English subtitles.

Sitting on the floor. Being able to get down onto the floor and back up again with grace and ease, like all things worth achieving, takes practice. It also takes remembering to do it, forming a habit. The next time you find yourself sitting in a chair, nudge yourself to take your task onto the floor, even if only for a minute, to begin a daily, lifelong habit and practice of sitting on the floor.

So here is my proposal.

“Do you FootLove Yoga Blog Reader promise to sit on the floor, unsupported, everyday, several times a day, for as long as you live?”

“Do you?”

“Do you?”

Namaste, Michele

What is Squatting Good For?

023

I instructed variations of Malasana or full squatting in my yoga class last night. We followed these with what is often described as a supine squat aka Ananda Balasana aka Happy Baby pose. A student asked me to remind her why squatting is good and why in that supine variation. I replied with just one of many reasons why frequent squatting is not only good, but necessary – it keeps your pelvic floor appropriately toned and at its optimal length to support the weight of your pelvic and abdominal organs; and to efficiently regulate the opening and closing of your elimination and sex muscles. When these functions are malfunctioning, incontinence and organ prolapse occur.

Picture the muscles of your pelvic floor like a hammock between your pubis (pubic bone) and sacrum (lowest section of spine). That hammock needs a certain amount of tautness to serve its functions. Such tautness is achieved when the sacrum is a certain length from the pubis. We do many things in life that shorten the distance between the pubis and sacrum, causing slack in the pelvic floor hammock. The human body will not allow  muscles to remain slack, but instead will take up this slack by contracting or shortening the slacking muscles. A hypertonic pelvic floor muscle is a weak muscle.  If you, like many people, habitually tuck your tailbone under as a conscious or subconscious postural choice; if you are a butt squeezer/clencher for “fitness” reasons; if you’re a yogi who drops your tailbone at the drop of a cue; if you sit more on your tailbone than your sitting bones in your car or on cushioned furniture – couches, love seats, easy chairs, recliners, futons, etc. – then you are moving your sacrum/coccyx forward into your pelvic area and shortening its length from your pubis. Over time, the result of this positioning of your sacrum in relation to your pubis will cause your pelvic floor to malfunction.

There are two simple but not necessarily easy ways to bring your pelvic floor back to the right length. First, change how you position your skeleton by creating a neutral pelvis, using bony markers as guidance. Line up your pubic symphysis (the prominent bony center of your pubis where the two halves of your pelvis meet) with your pelvic bones aka anterior superior iliac spines (ASIS) evenly in the frontal plane. I describe how it looks in three orientations:

  • When standing with these bones even in the frontal plane, if you pressed your pelvis against a wall, your pubis and ASIS would both be touching the wall. If your pubis touched first, then you are posteriorly tilting your pelvis and moving your sacrum deeper into the pelvic cavity. You are butt tucking.
  • When supine, you could lay a board on your pelvis and, assuming your could move the flesh out of the way, all three bony markers would be flush to the board. If only your pubis is touching, then you are tucking your butt and will also notice that this results in a flattening of your lower spine against the floor.
  • When prone, the three bony markers will be pressing evenly into the floor. If your pubis is pressing more than your pelvic bones, then you have moved your sacrum/coccyx forward.

Picture-316

This image, borrowed from my teacher Katy Bowman, shows a side view of the pelvis. The orange line represents the wall, board, or floor in the above examples. You can see how the pelvic bone and the pubis are positioned in relationship to each other in the frontal plane. You can also imagine how a butt tuck would send the tailbone deeper into pelvic space, causing the pubis to push forward of the ASIS. This would shorten the pelvic hammock.

Picture-225-121x300

In this image, also borrowed from KB by way of Leonardo da Vinci, shows a neutral pelvis in relation of the rest of the lower skeleton. Note how the lower of the orange dots at the front of the pelvis would come forward if this skeleton were to tuck its butt, taking these bone markers out of neutral alignment.

The second way to optimize the length of your pelvic floor muscles is the increase the strength of your gluteal muscles. Because of how/where your glutes attach to your pelvis, these muscles, when they are strong and fully innervated, will keep your sacrum pulled back out of your pelvis maintaining proper pelvic floor muscle tone and length – provided you are not undermining them by tucking your butt or posteriorly tilting your pelvis.

Frequent squatting – multiple times per day, throughout your day – will train your sacrum to stay where it belongs and will strengthen your gluteal muscles. How can you add more squatting to your day?

  • The best way I know is to build or install a squatting platform over your toilet. I installed Nature’s Platform in my bathroom and now I squat  a minimum of how many times per day that I eliminate.

    Nature's Platform

    Nature’s Platform

  • I use a standing work station to write & study and take frequent squatting breaks, in addition to my bathroom squatting breaks
  • Squat to perform household tasks – even if it’s just for a minute. I bring the cutting board onto the kitchen floor and squat when I chop veggies; I squat  when folding clothes; I squat when pulling weeds; I squat when I’m sitting on the floor reading.
  • Add squats to your yoga practice or fitness routine

There are lots of variations in squatting and i do them all. If I am going into malasana or full bathrooming-type squat (not on my squatting platform because the back of the toilet inhibits this), I try to keep my shins vertical to the ground, my spine in neutral, and my tail untucked for as long as I can, but at some point as I get lower to the ground, my tail will tuck. If I am not going into a full squat, I work on the vertical shins, neutral spine, and really use my gluts to power lowering into and rising out of the squat.

Malasana or bathrooming squat

Malasana or bathrooming squat

Butt building squat

Butt building squat

029

Back to my student last night and Happy Baby, which appears like a supine squat, but is technically not a squat at all. Most yogis get it wrong in terms of the bony markers discussed above. Most posteriorly tilt their pelves, tuck their coccyges – which in the supine orientation would present as lifting the tailbone off of the ground, and flatten their lower backs. To achieve some of the benefits of the squat and as a good way to train your body away from this malalignment in prone postures, try to keep your tailbone down and your pubis and ASIS even in the frontal plane. I find it is easier to achieve this one leg at a time as in half happy baby pose.

Namaste, Michele

Bras, the Burkas of the Western World

My breasts are small. My nipples are large. These facts will be important later in this story. About 12 years ago, I did a brief, fun, memorable modeling stint for sporty women’s clothing catalog Title Nine – this fact is my disclosure.

Last night, I browsed through Title Nine’s latest catalog and got myself wrapped around the axle (again) about boobs. I was checking out bras, when I read about a bra called The Deuce, “light molding keeps the gals in shape and the headlights low.” Infuriated, I posted the following on Facebook ‘My nipples are not headlights and I will not keep them low.’ A discussion ensued. When I found myself commenting a treatise on breasts, it was determined enough incredulity for a blog post. Words and phrases in “quotes” are Title Nine’s.

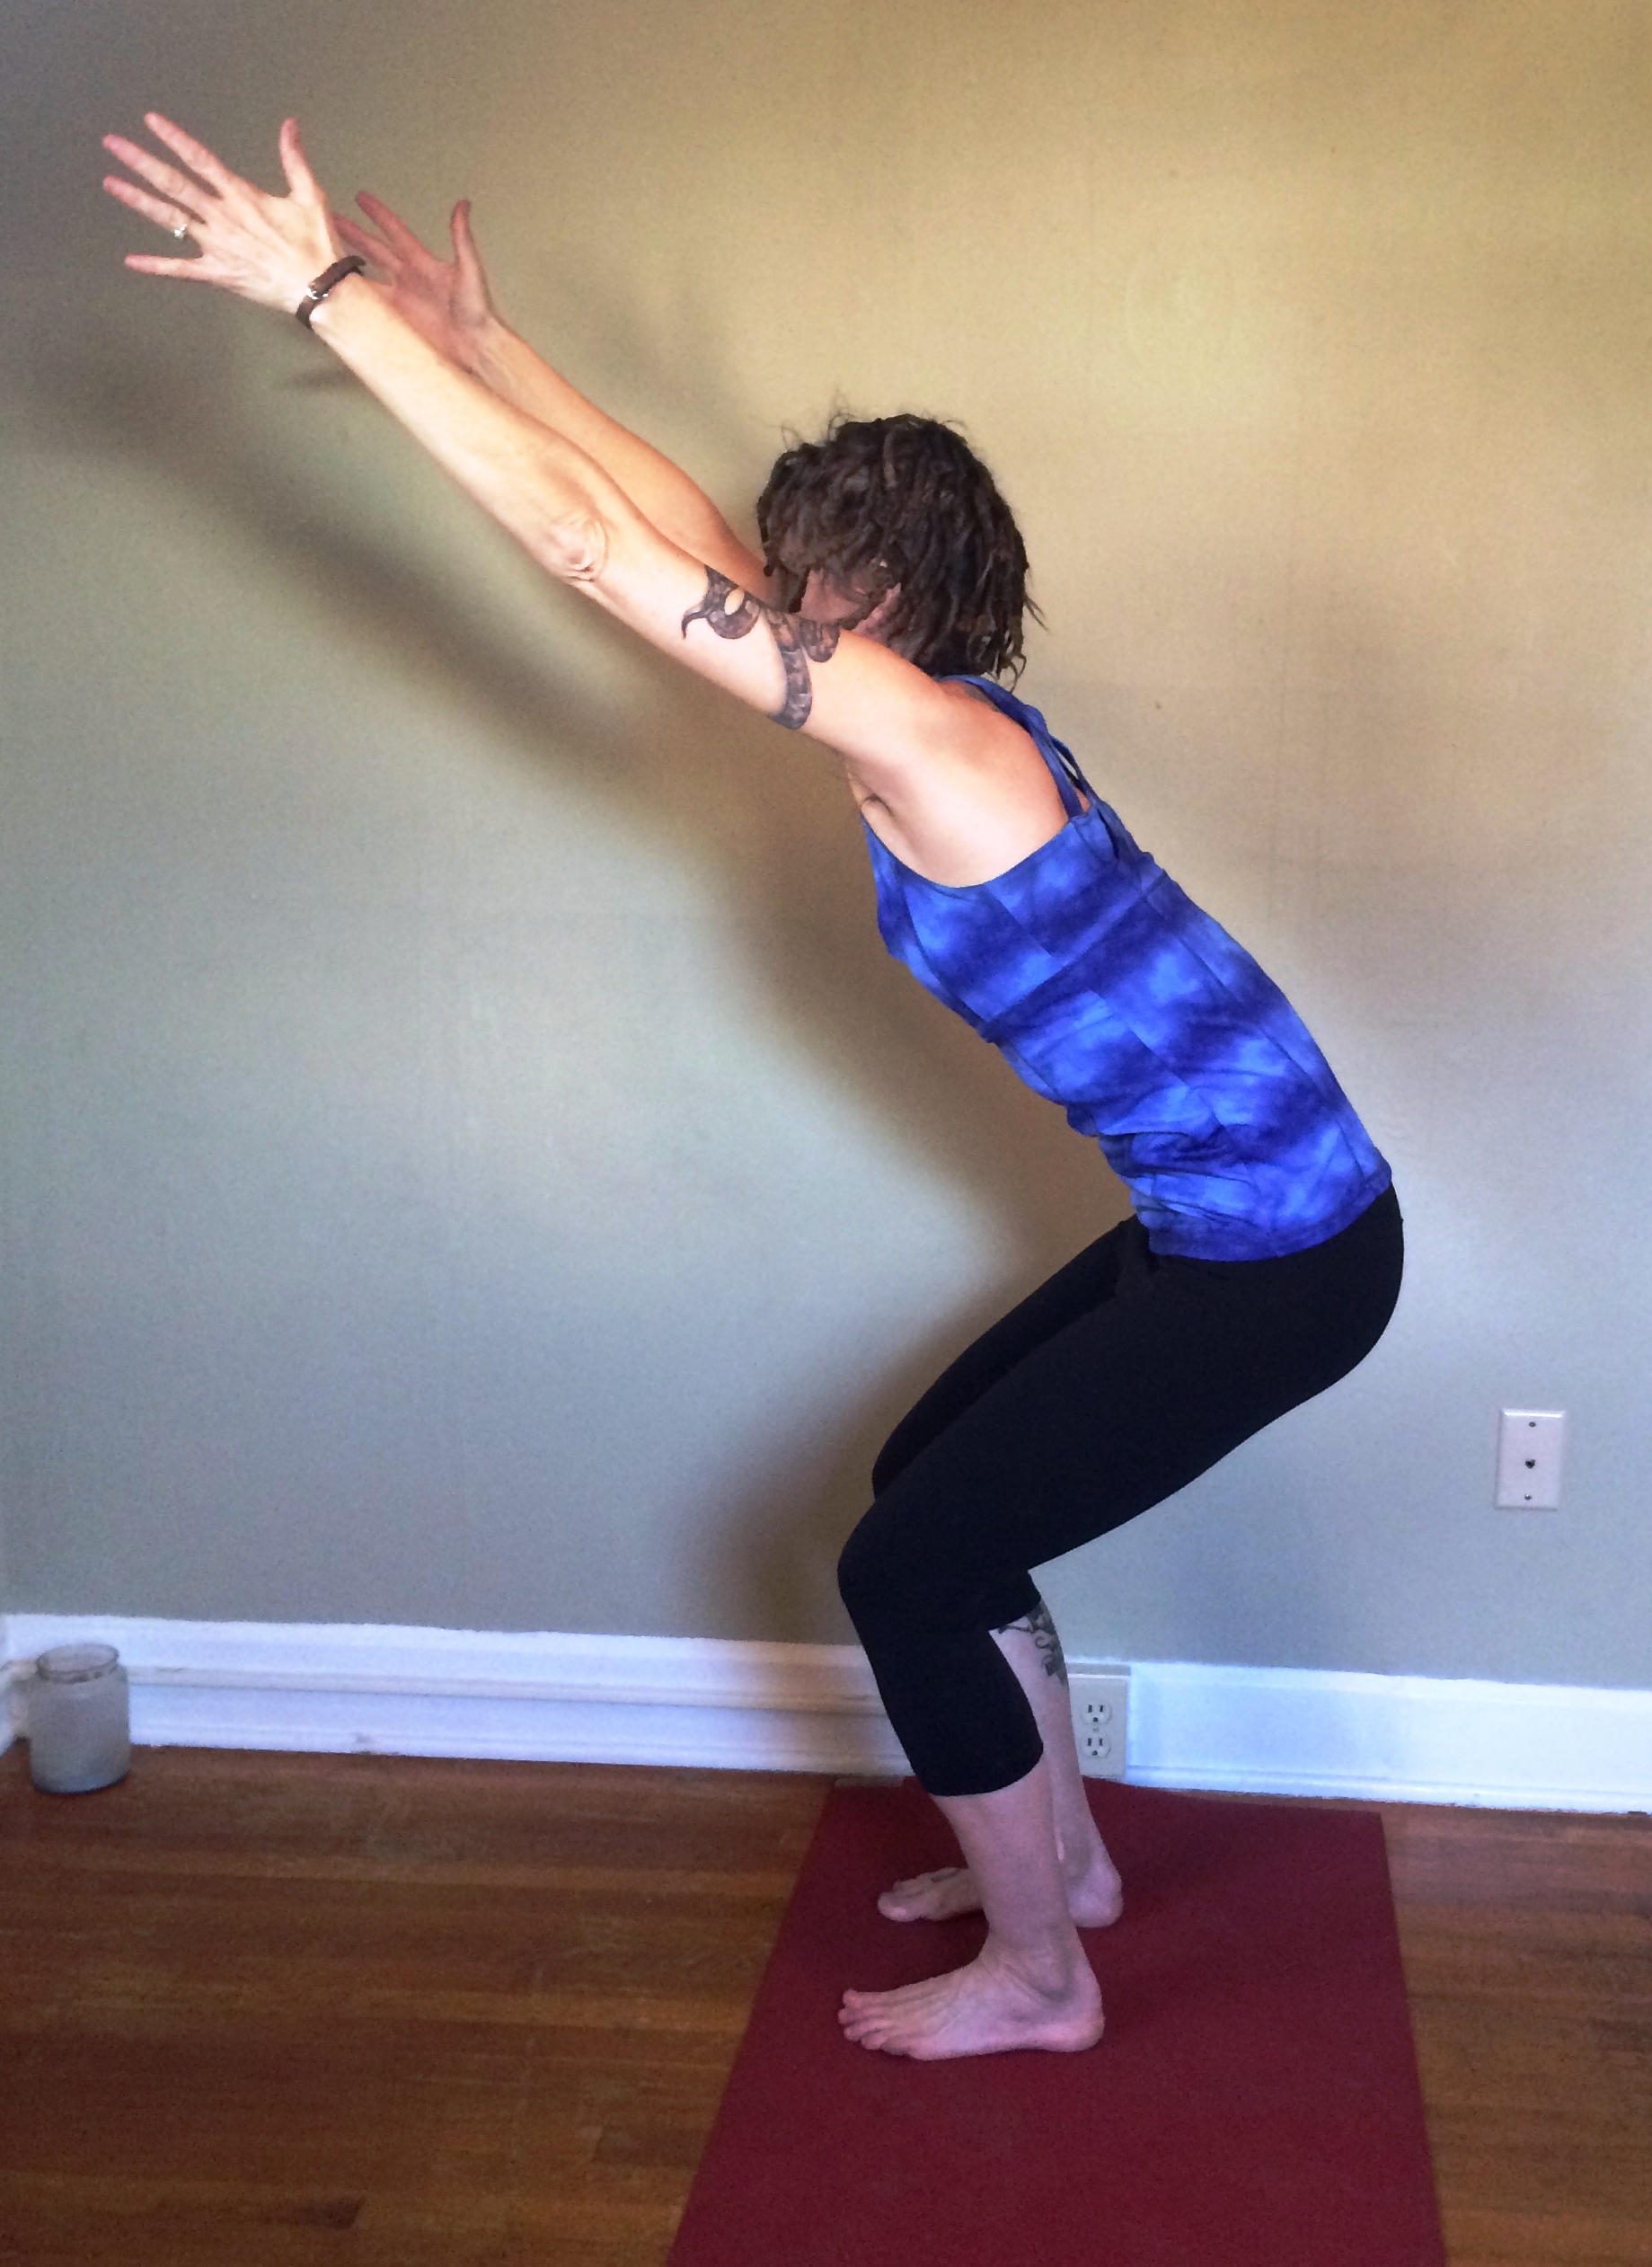
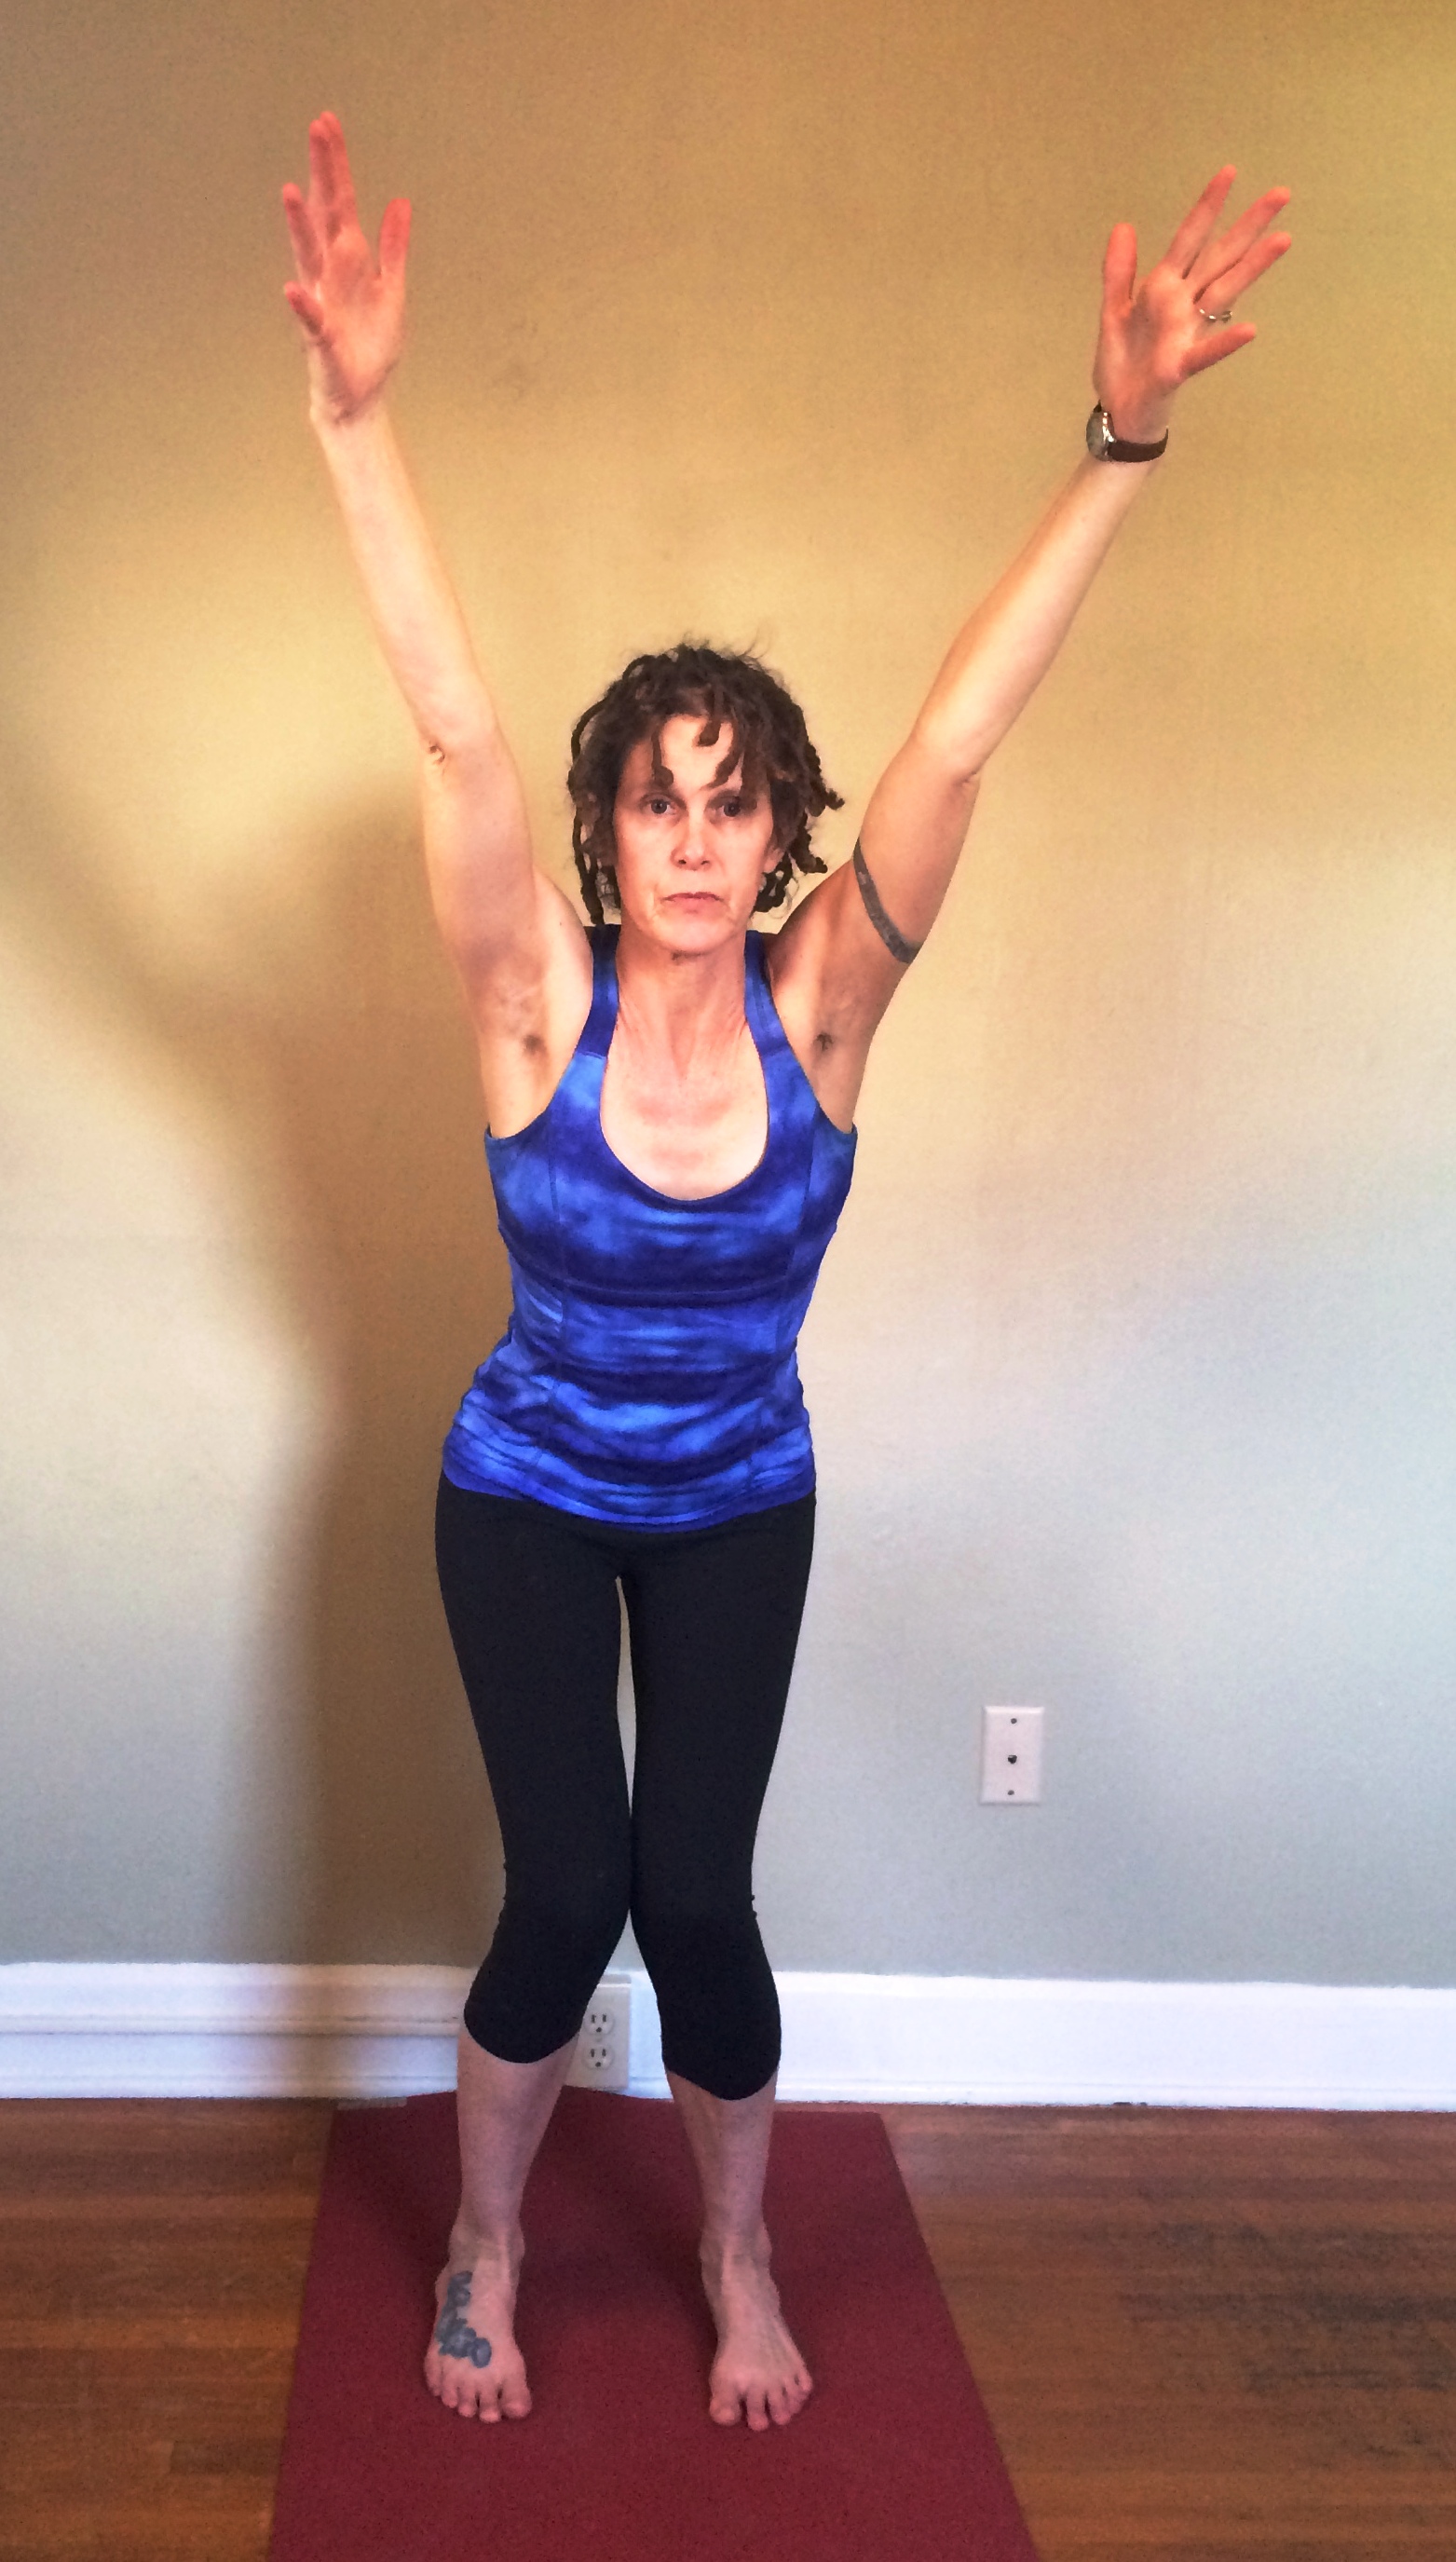
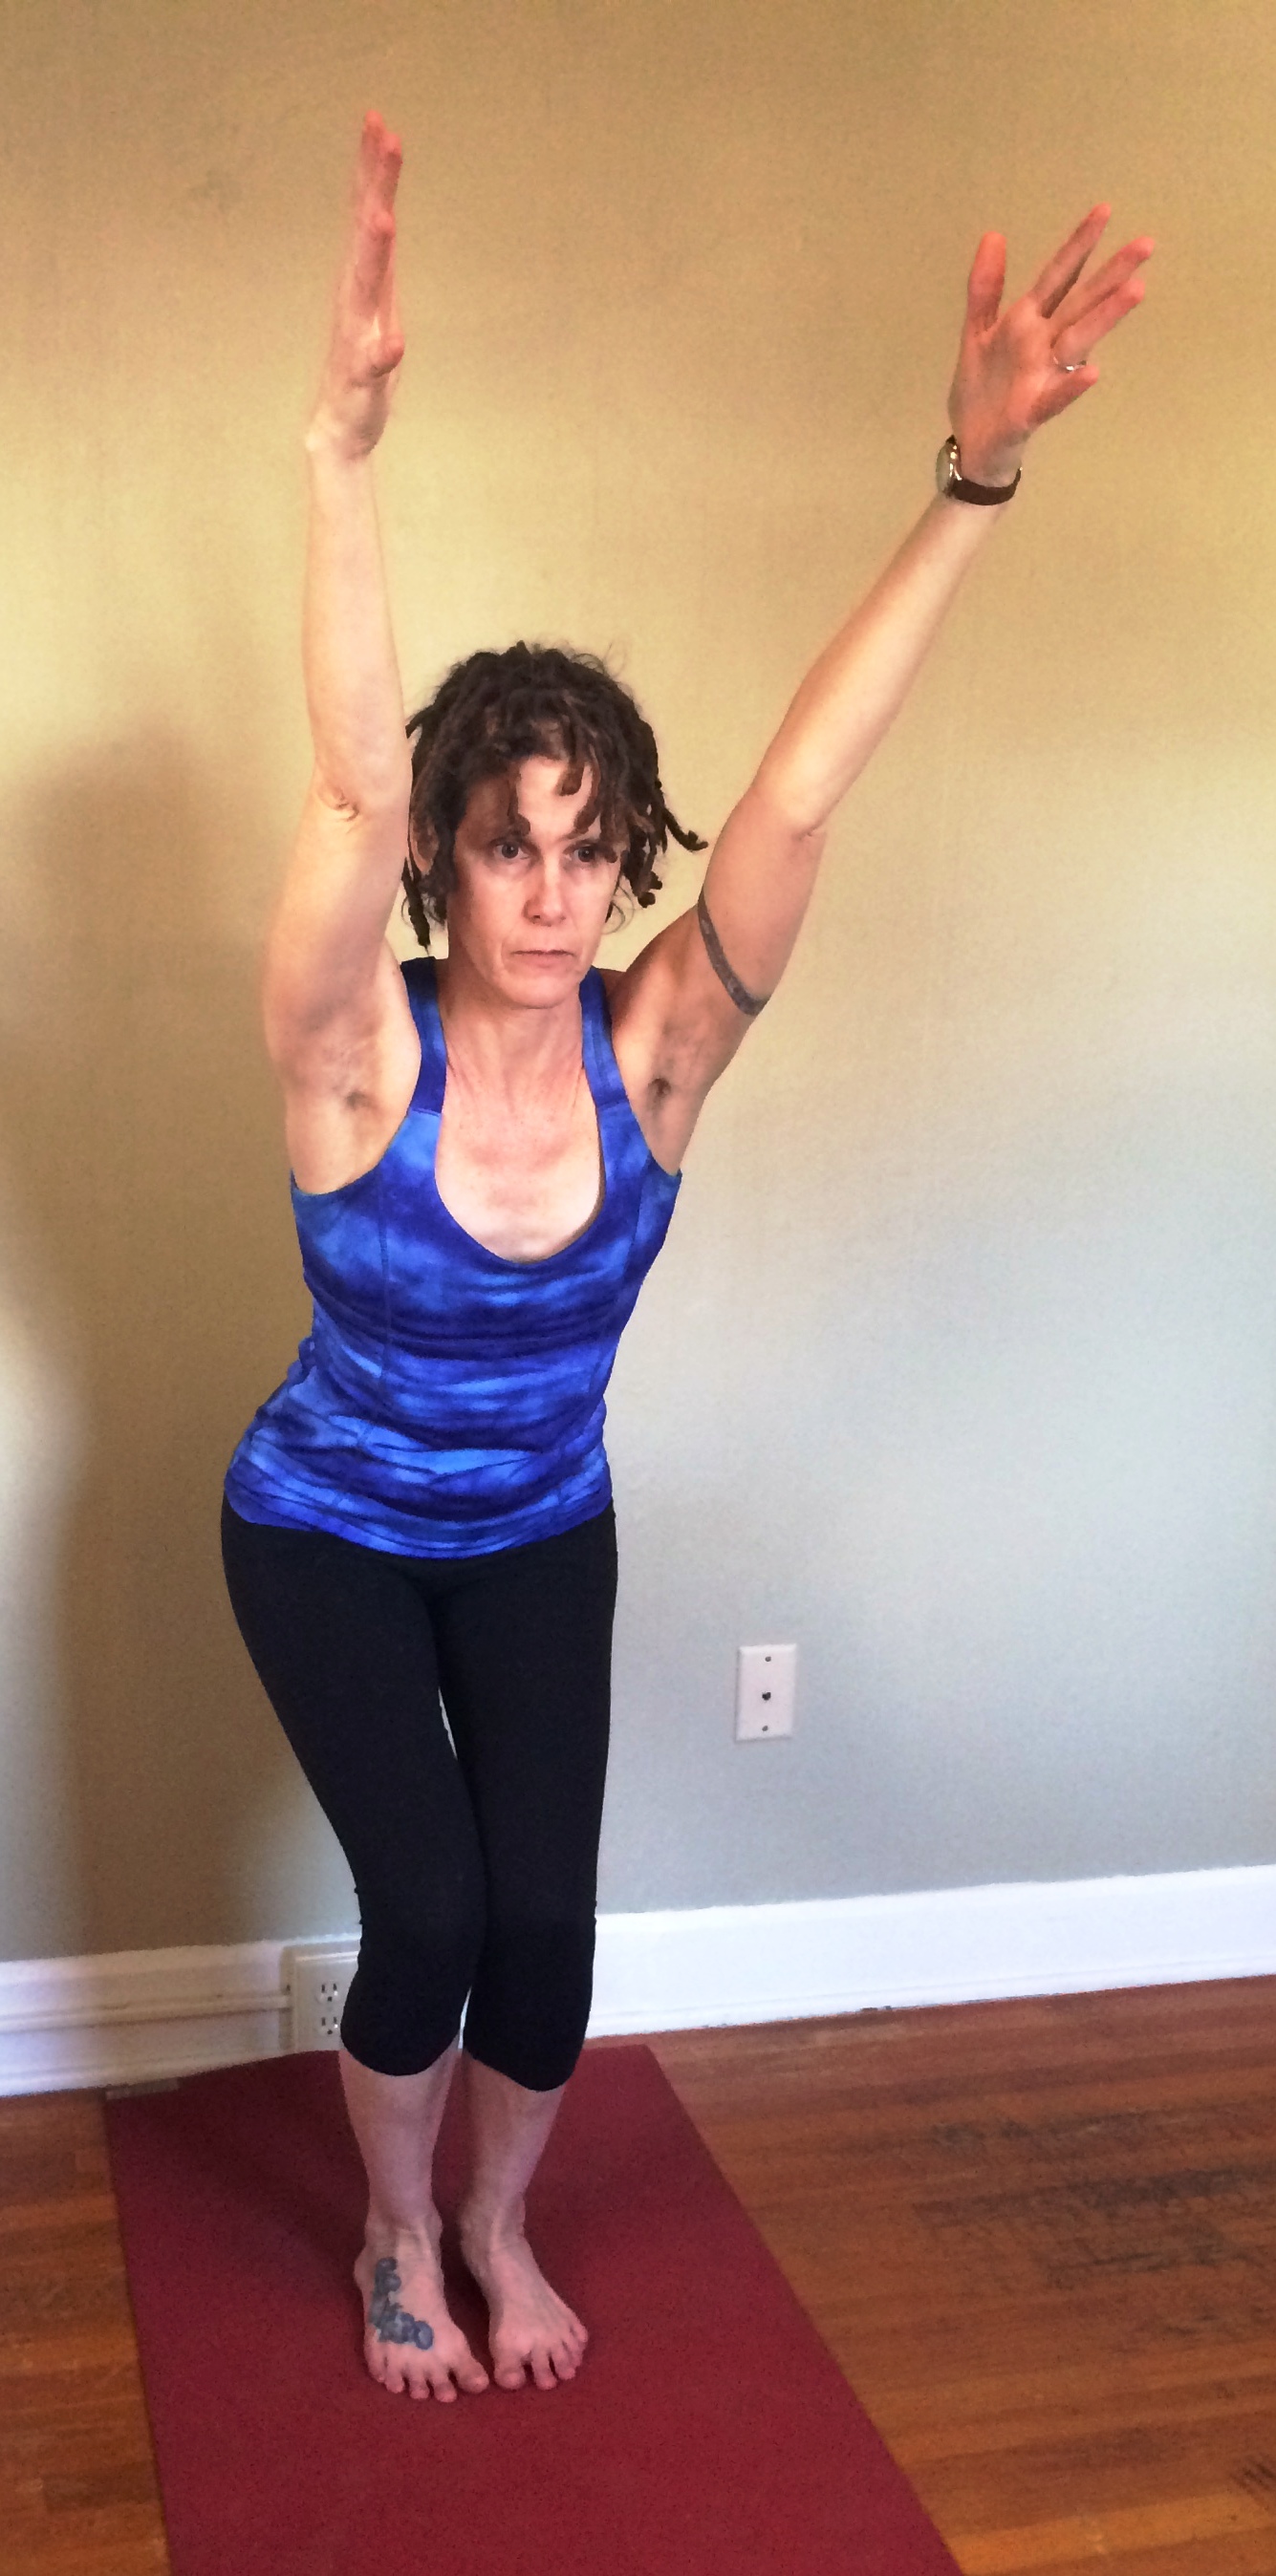
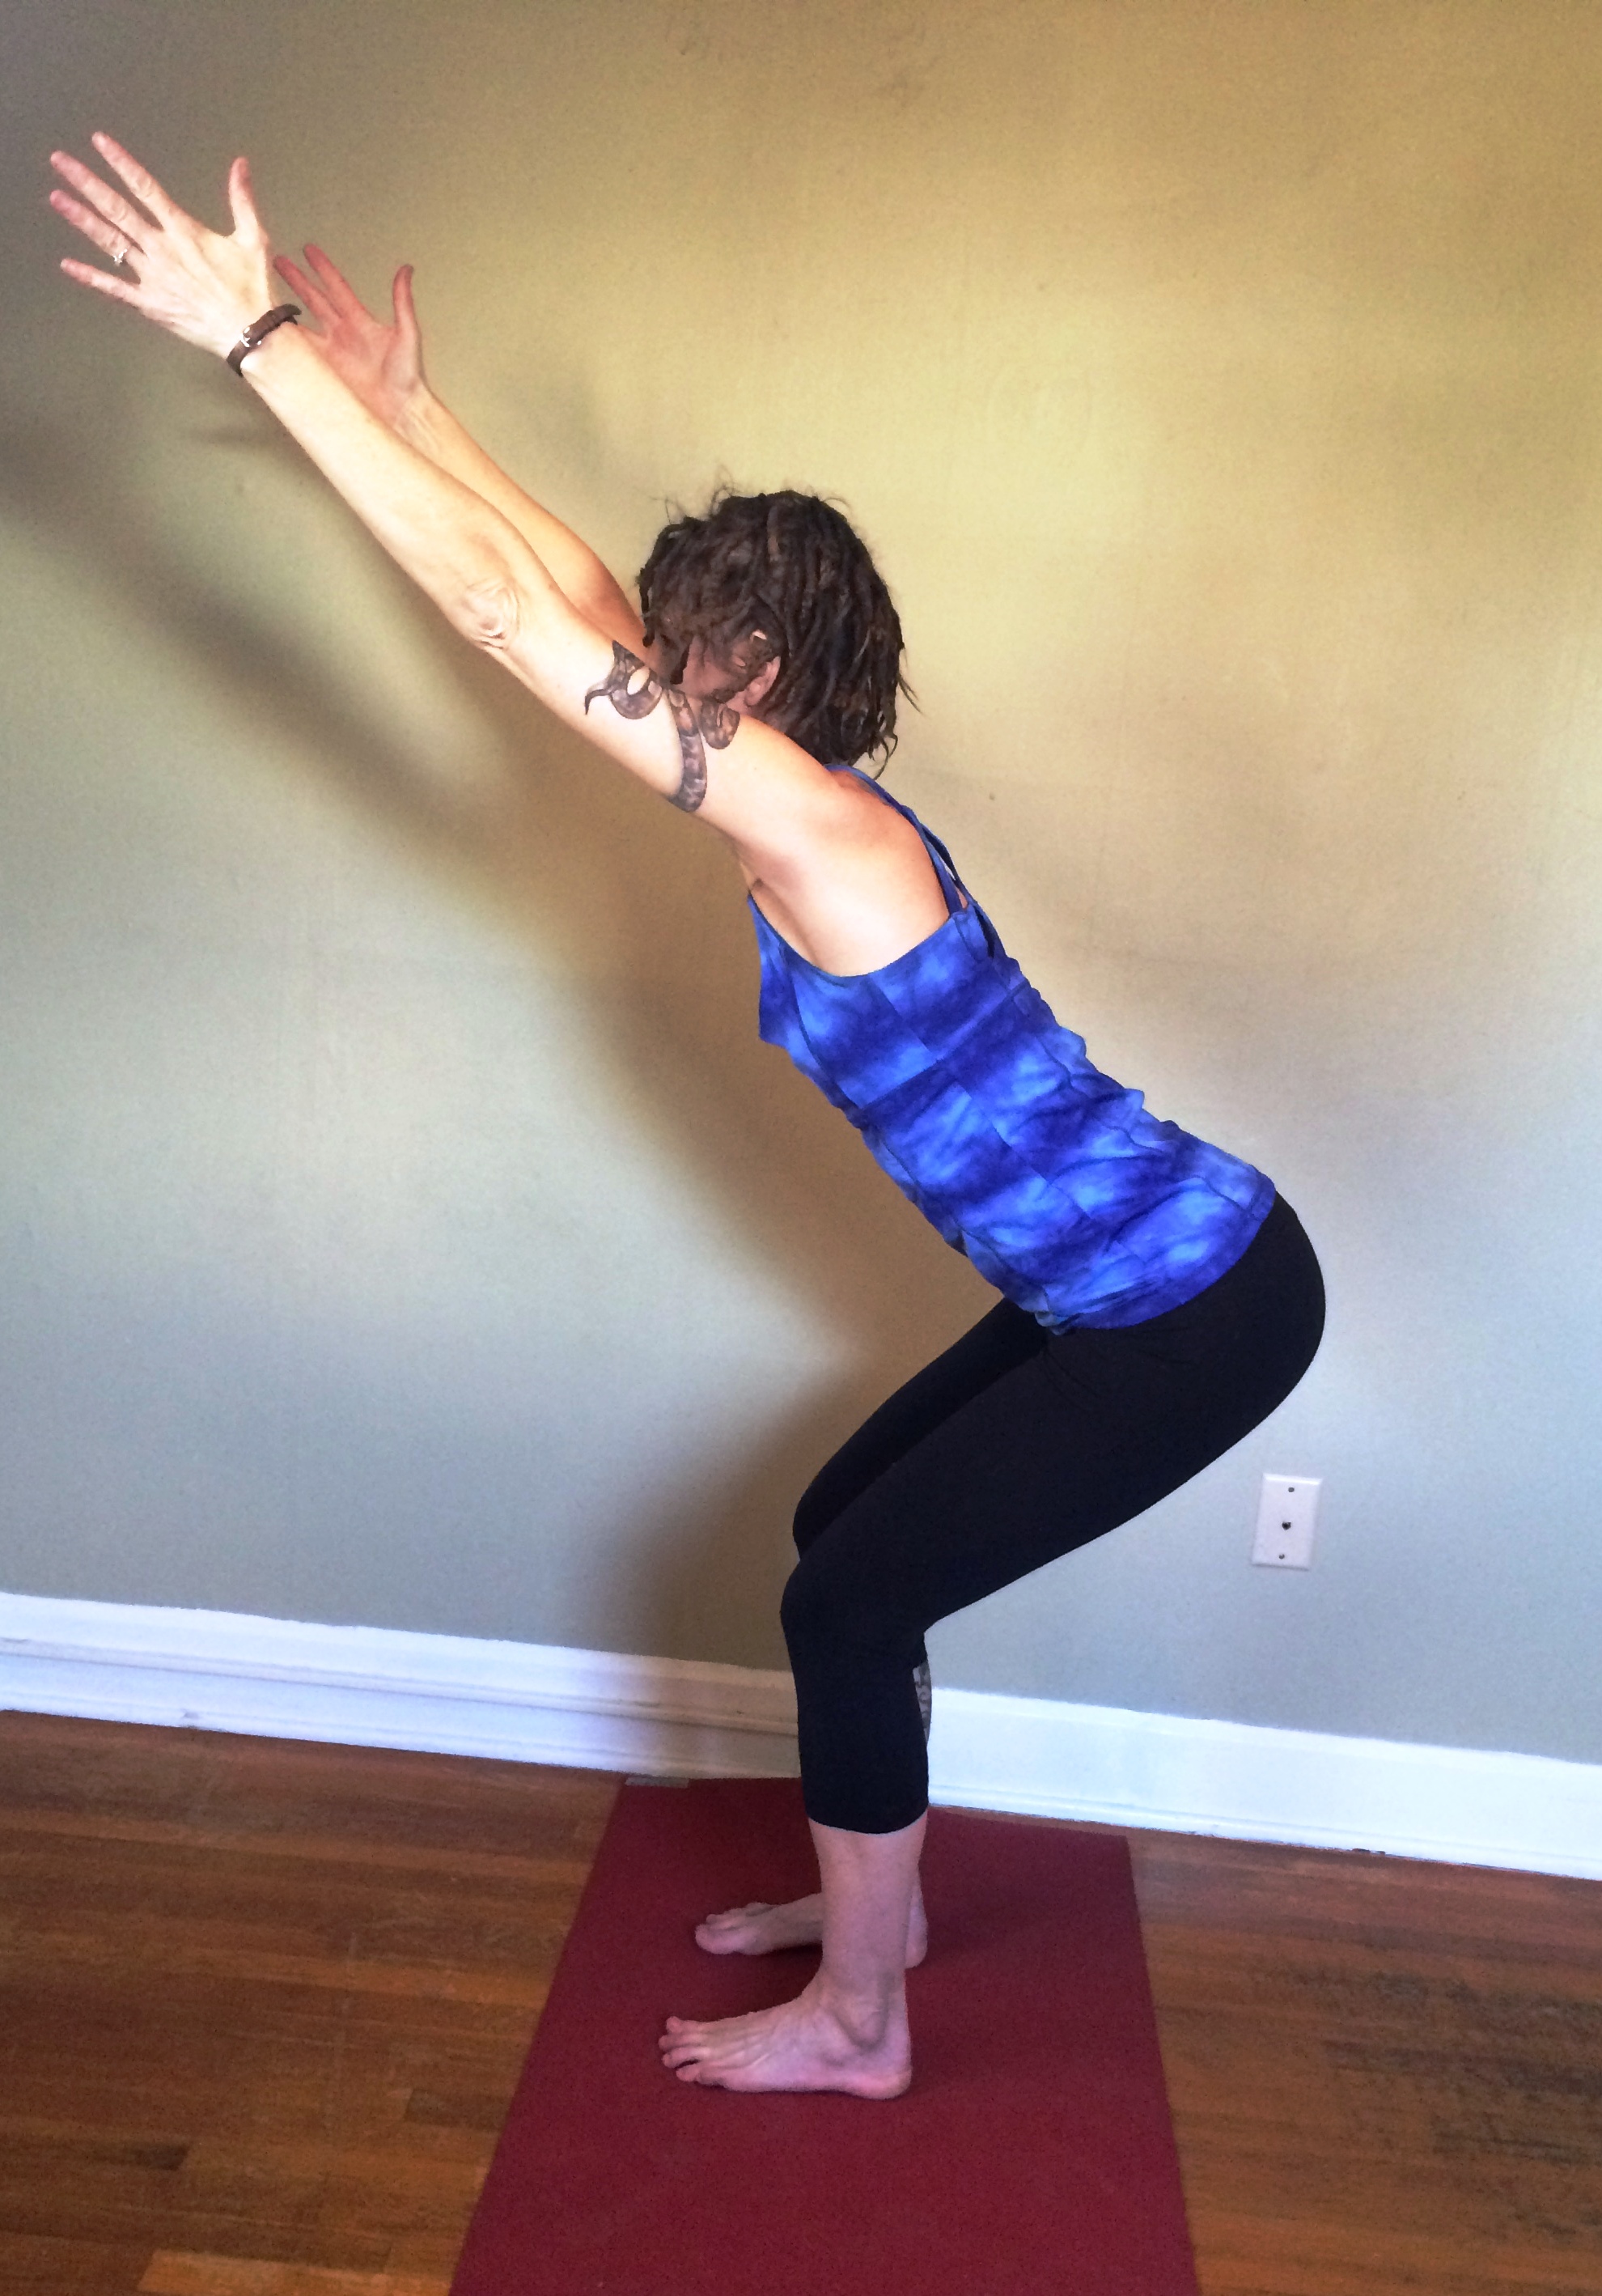
Of course, I’ll start with nipples, given mine. We have a cultural aversion to nipples, treating them as if they are so dirty, profane, and obscene that not only should they be hidden from sight, but we should not speak their indecent name. I have felt pressured into hiding my large nipples much of my adult life. About a year ago, during an epiphany in the mirror with a clinging yellow shirt, I tossed out all of my undy bras and extracted the padded inserts (“removable modesty padding”) from my yoga tops. As a small breasted, large nippled yoga teacher, I admit I was uncomfortable standing in front of my class the first time without monoculturally-shaped modesty pads, knowing my immodest nipples were naughtily erect. But “the gals” and I prevailed. To hell with the nipple haters! No more burkas for my boobs.

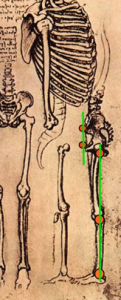
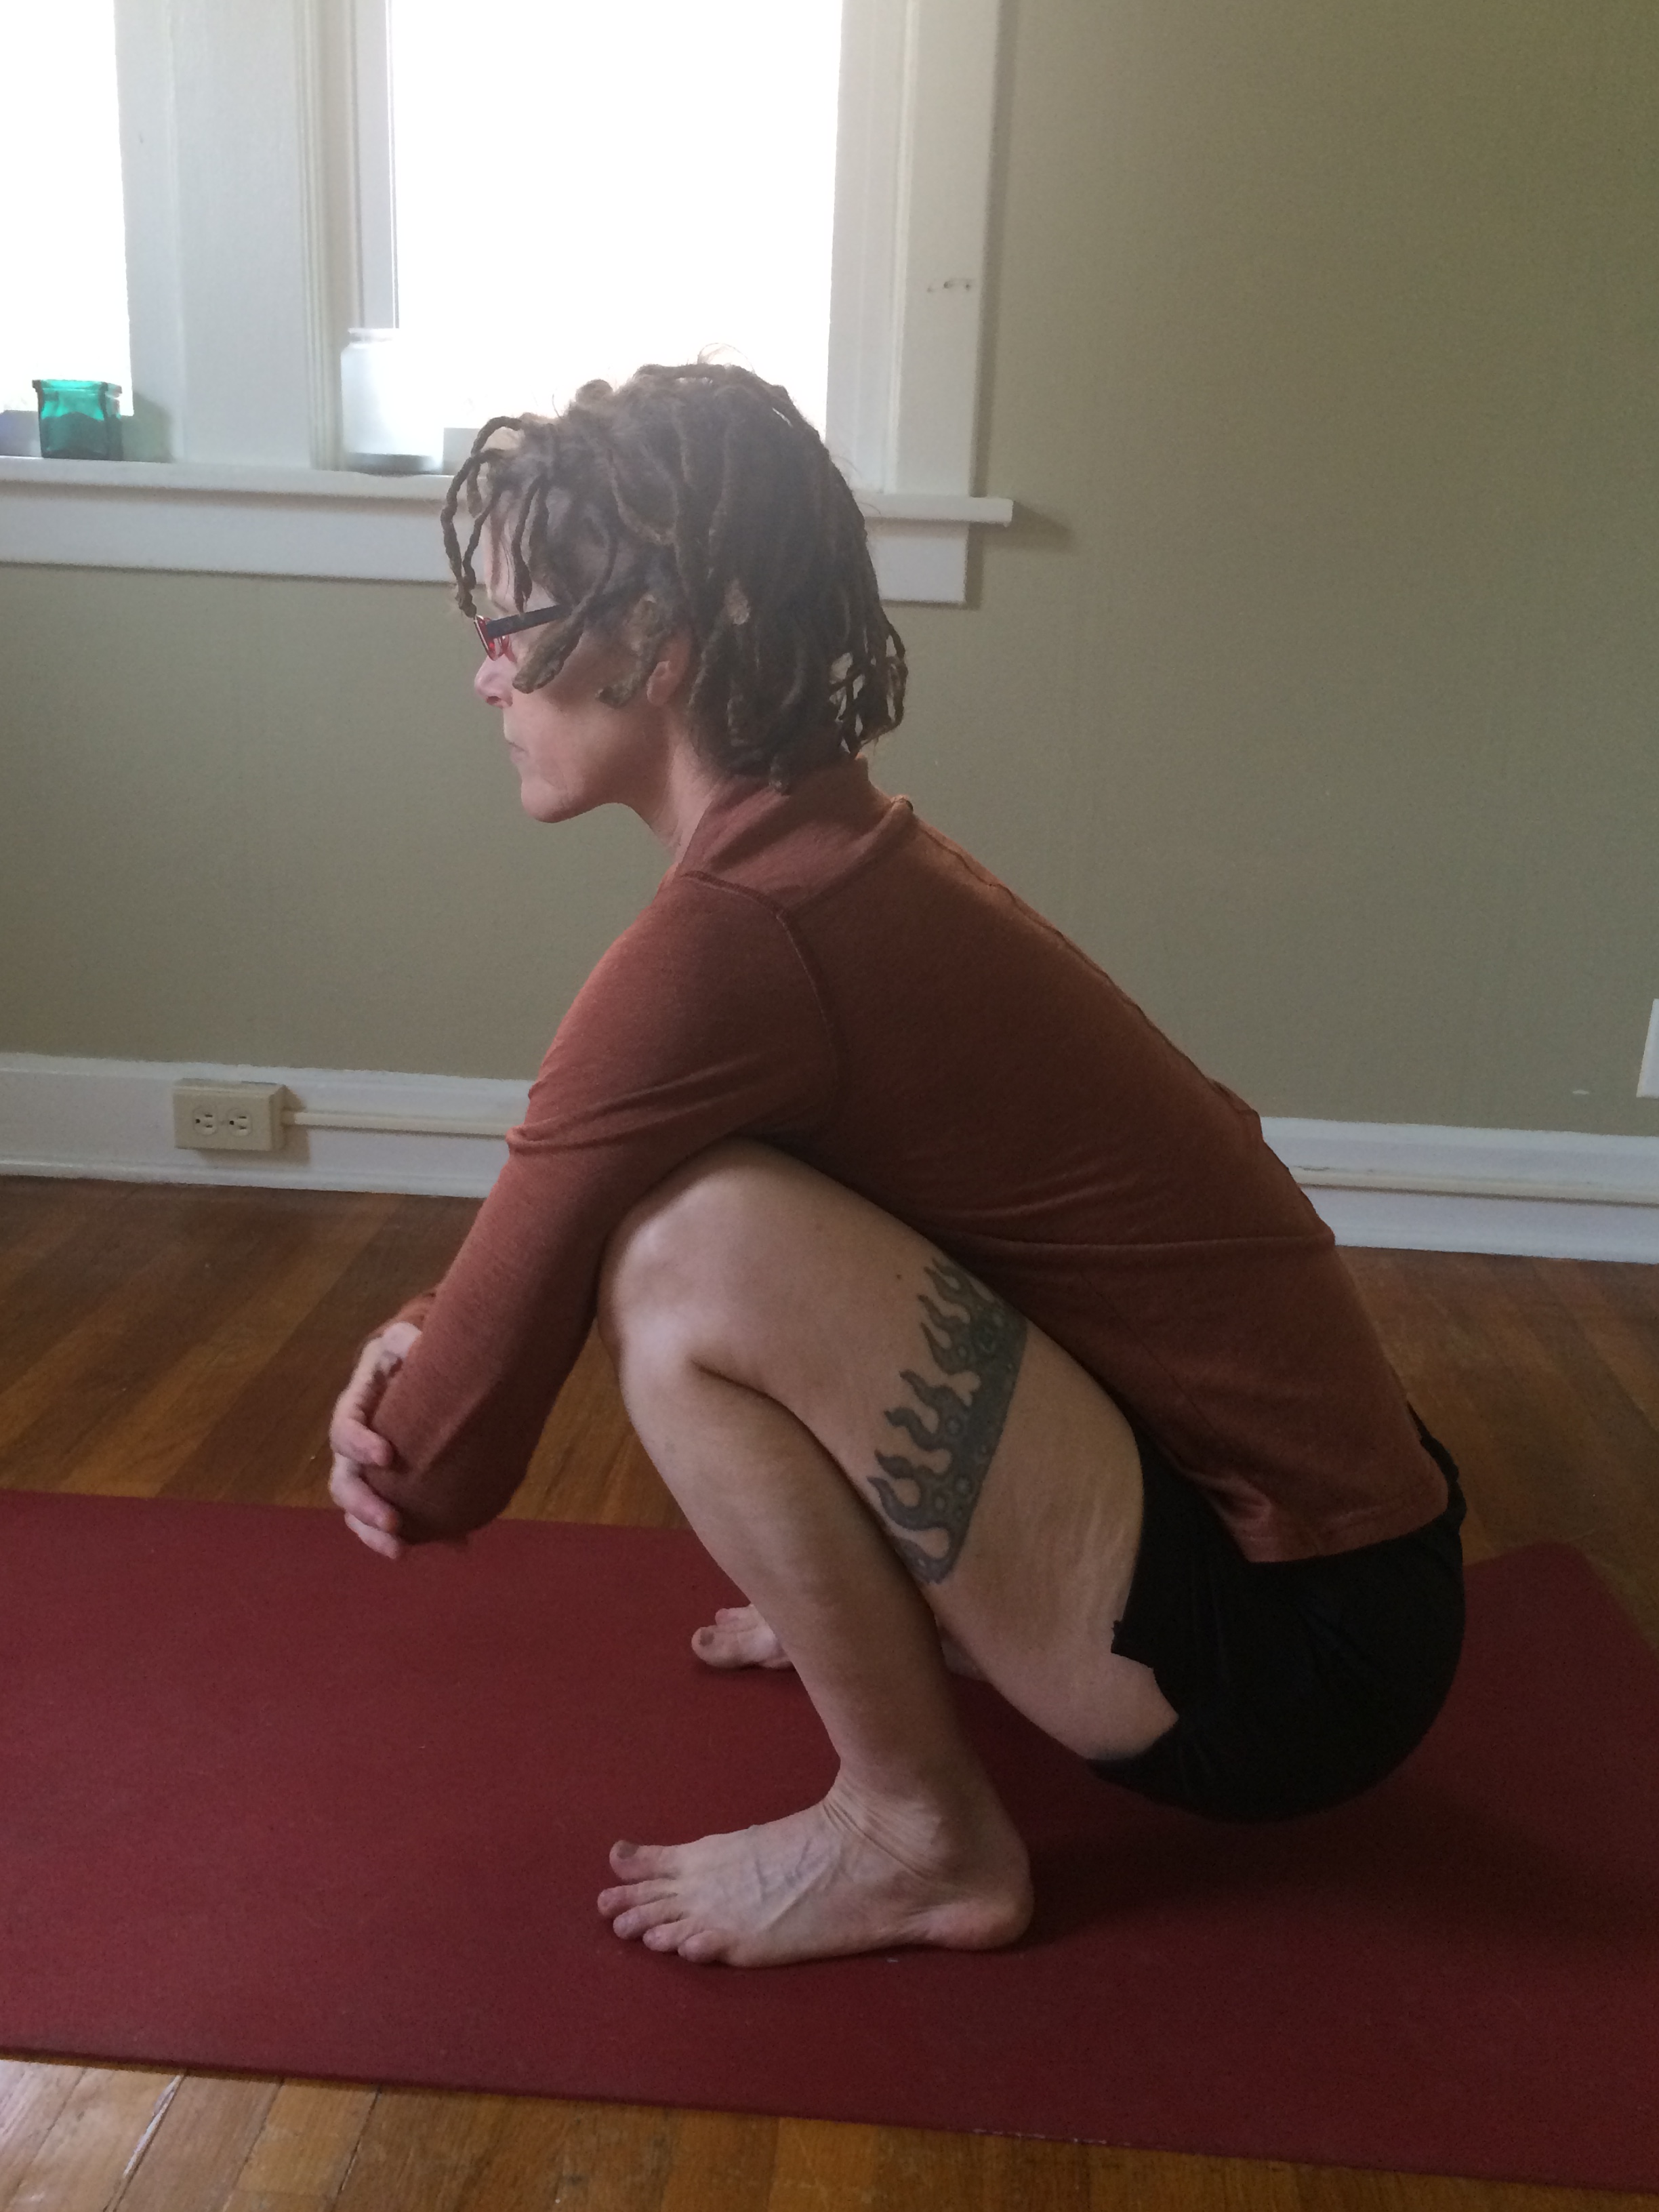
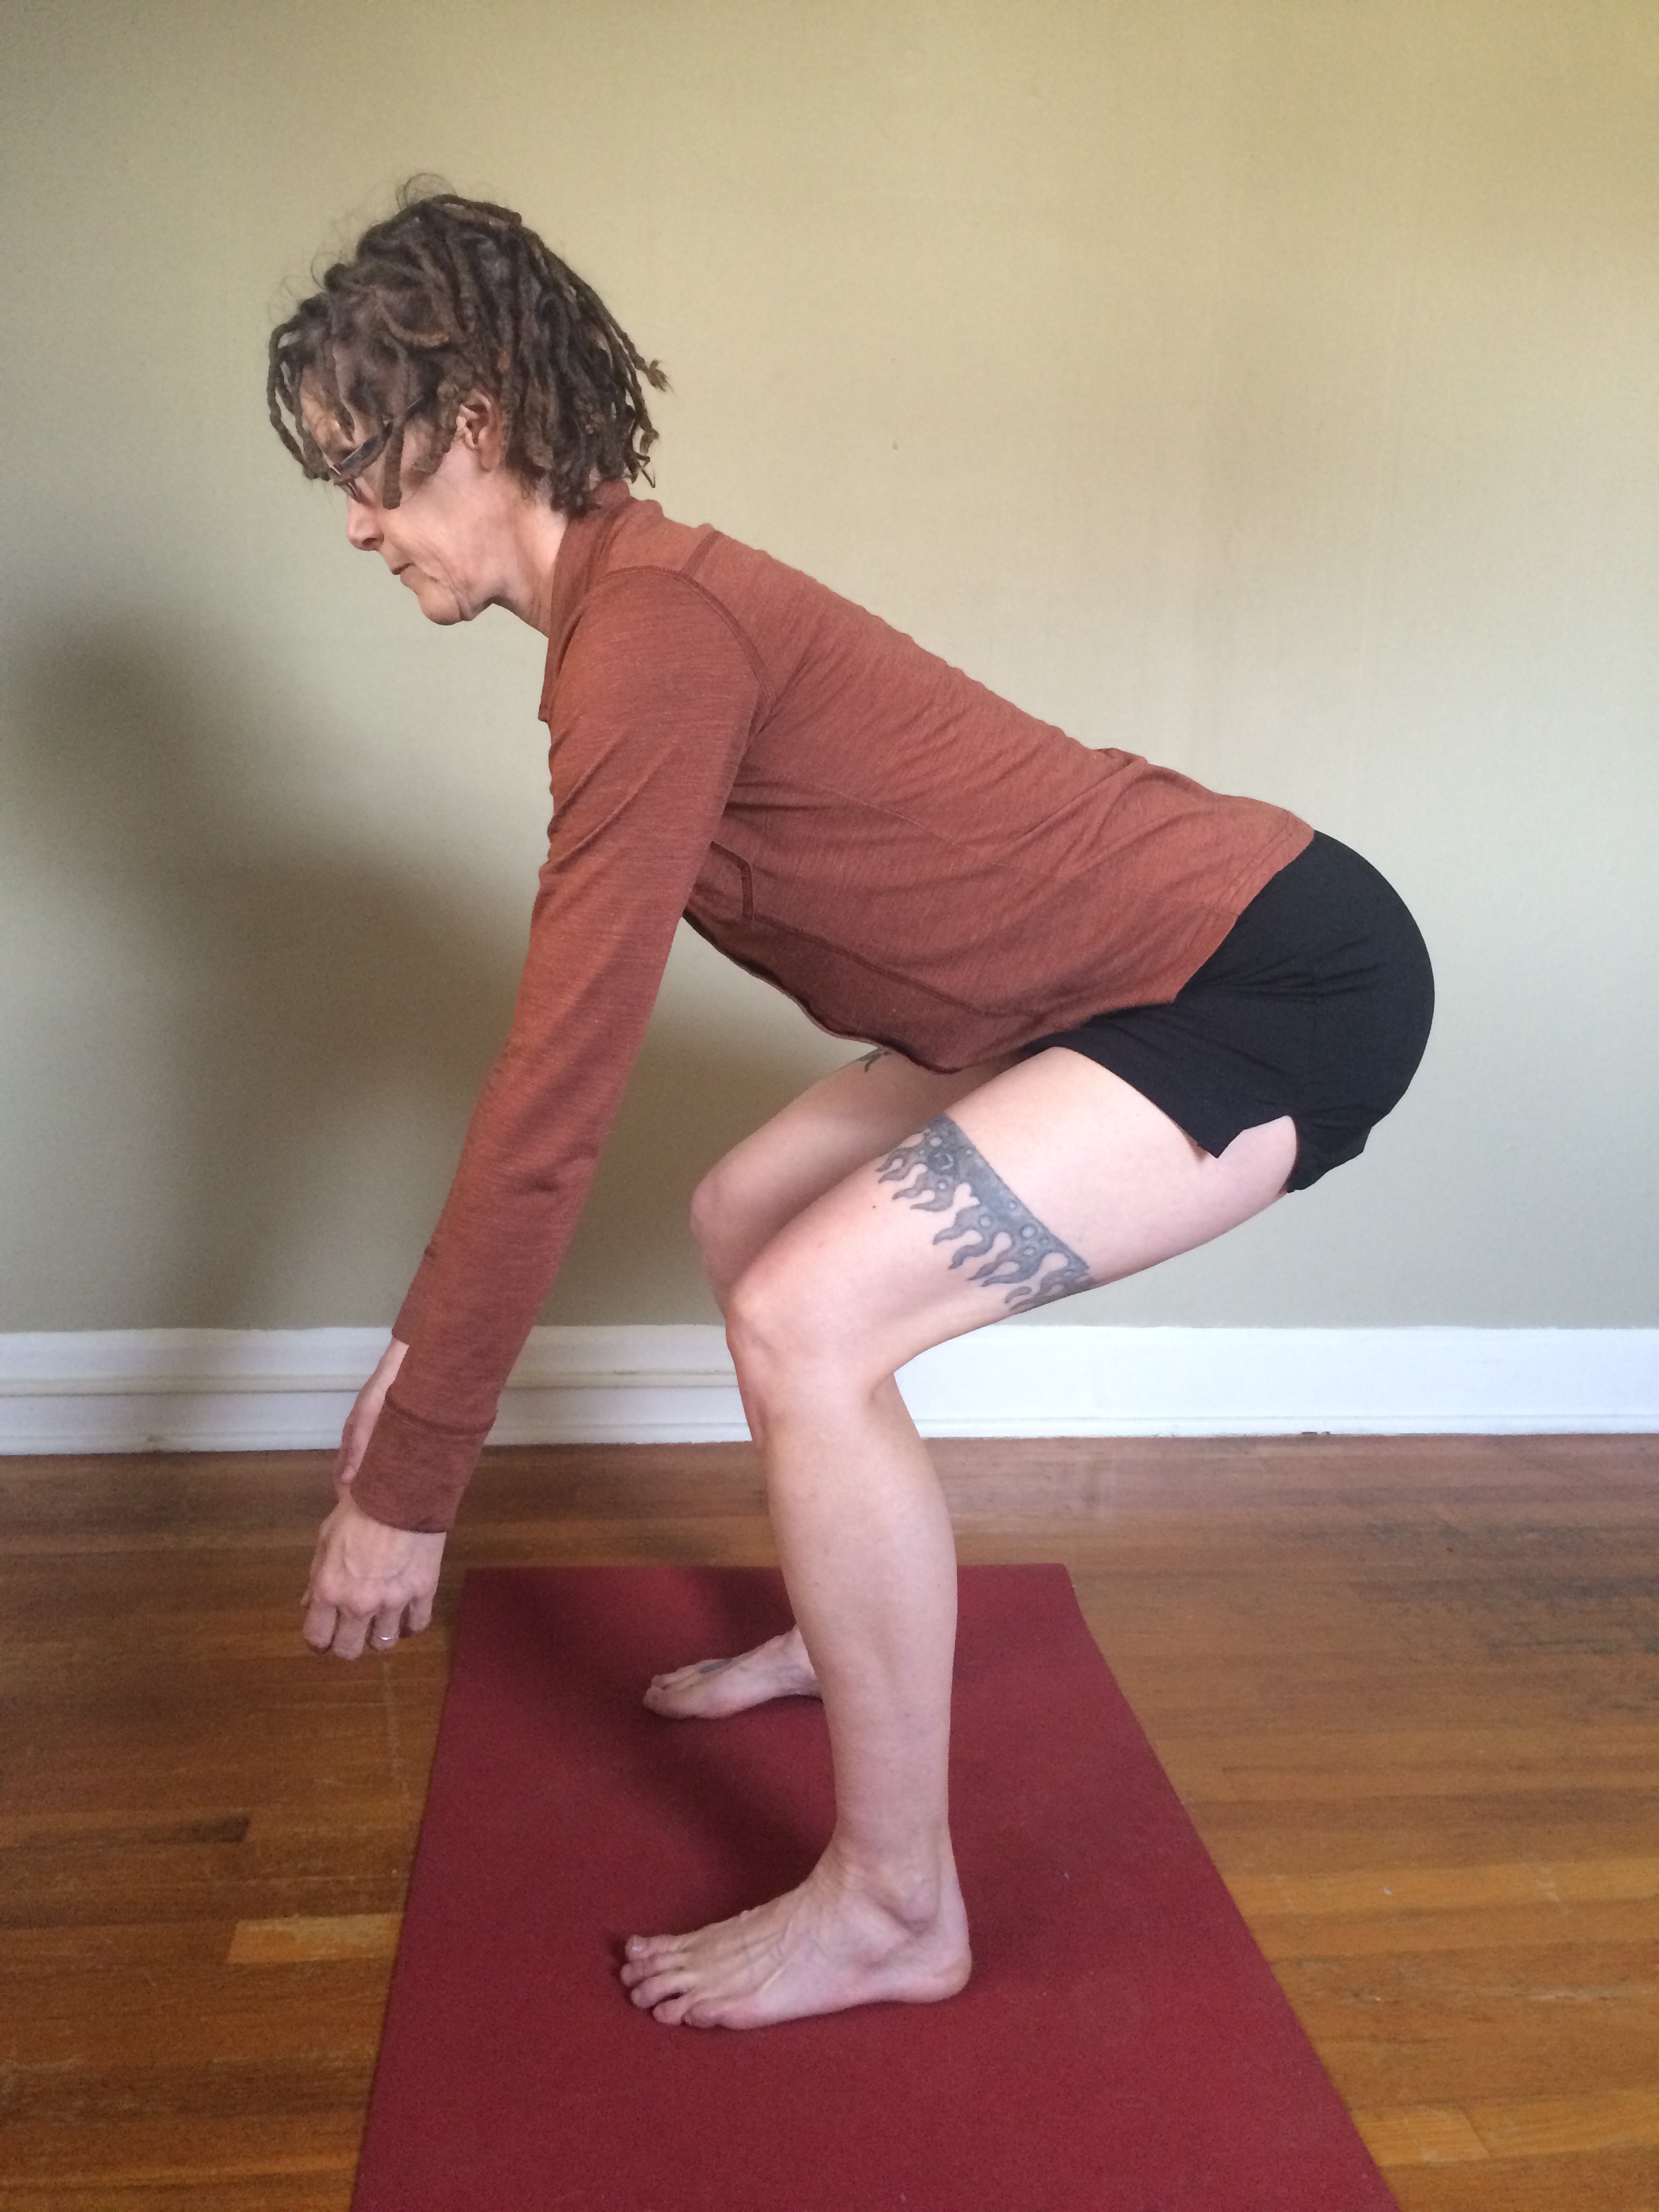
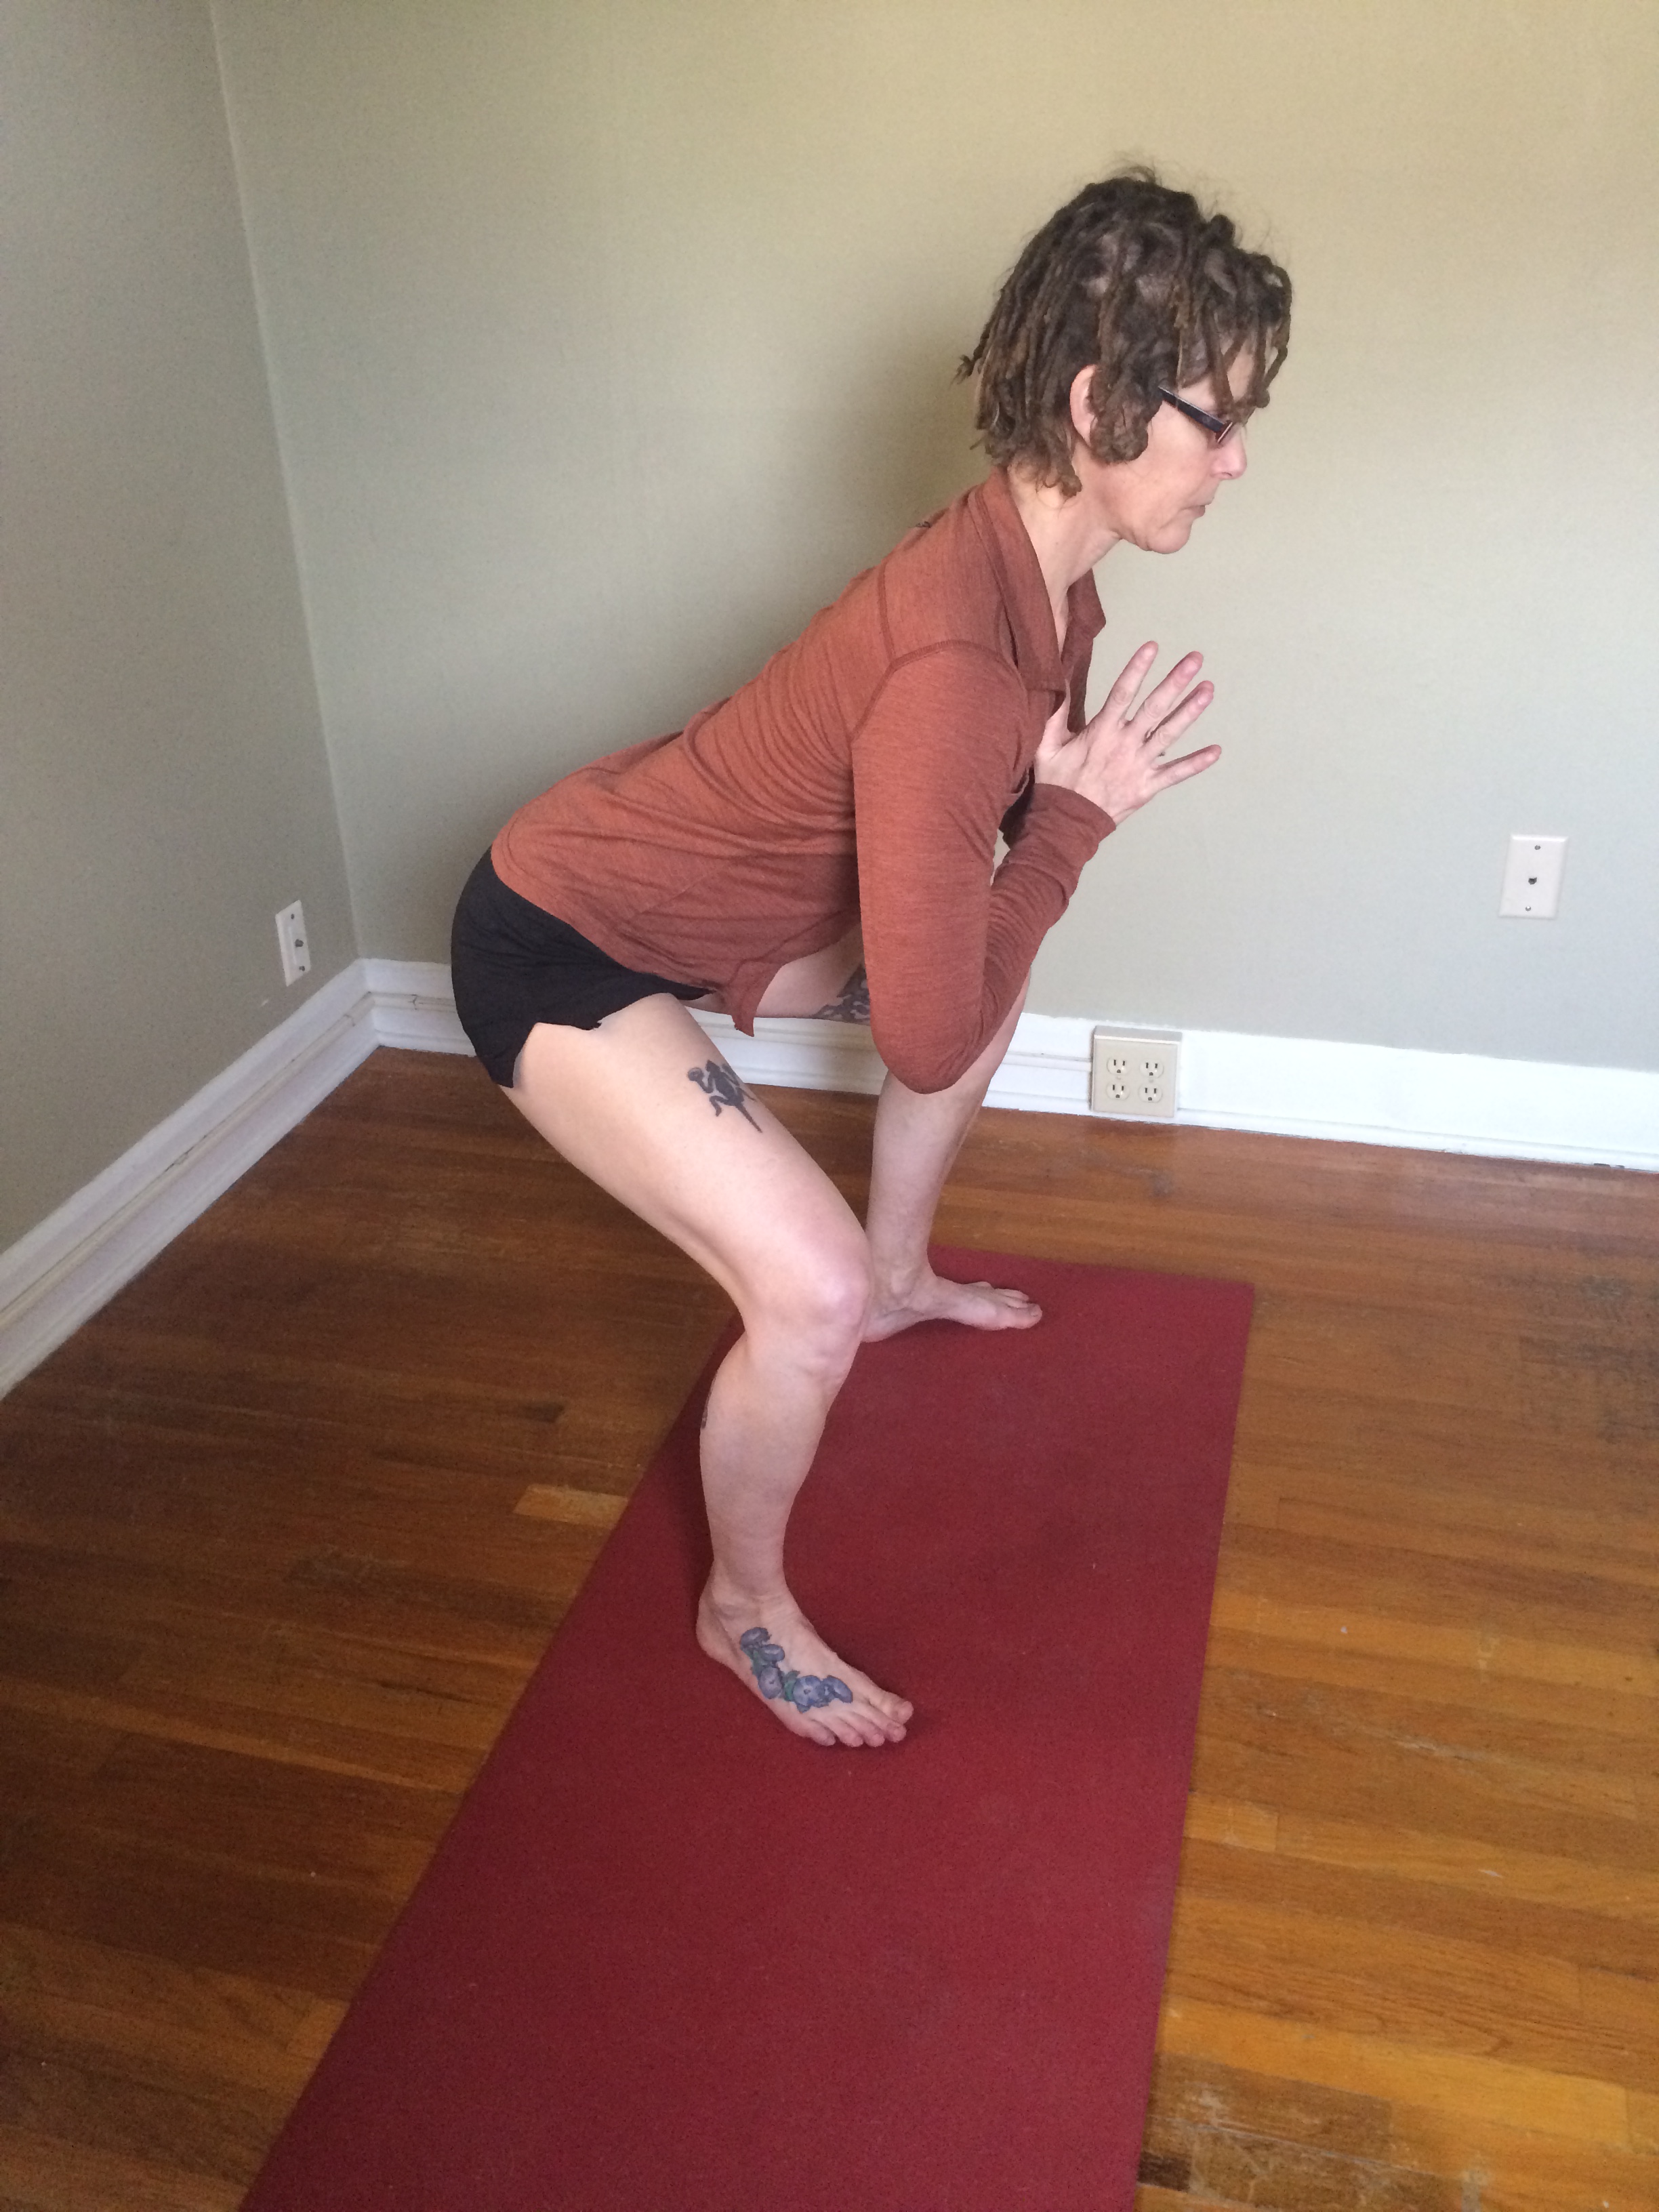
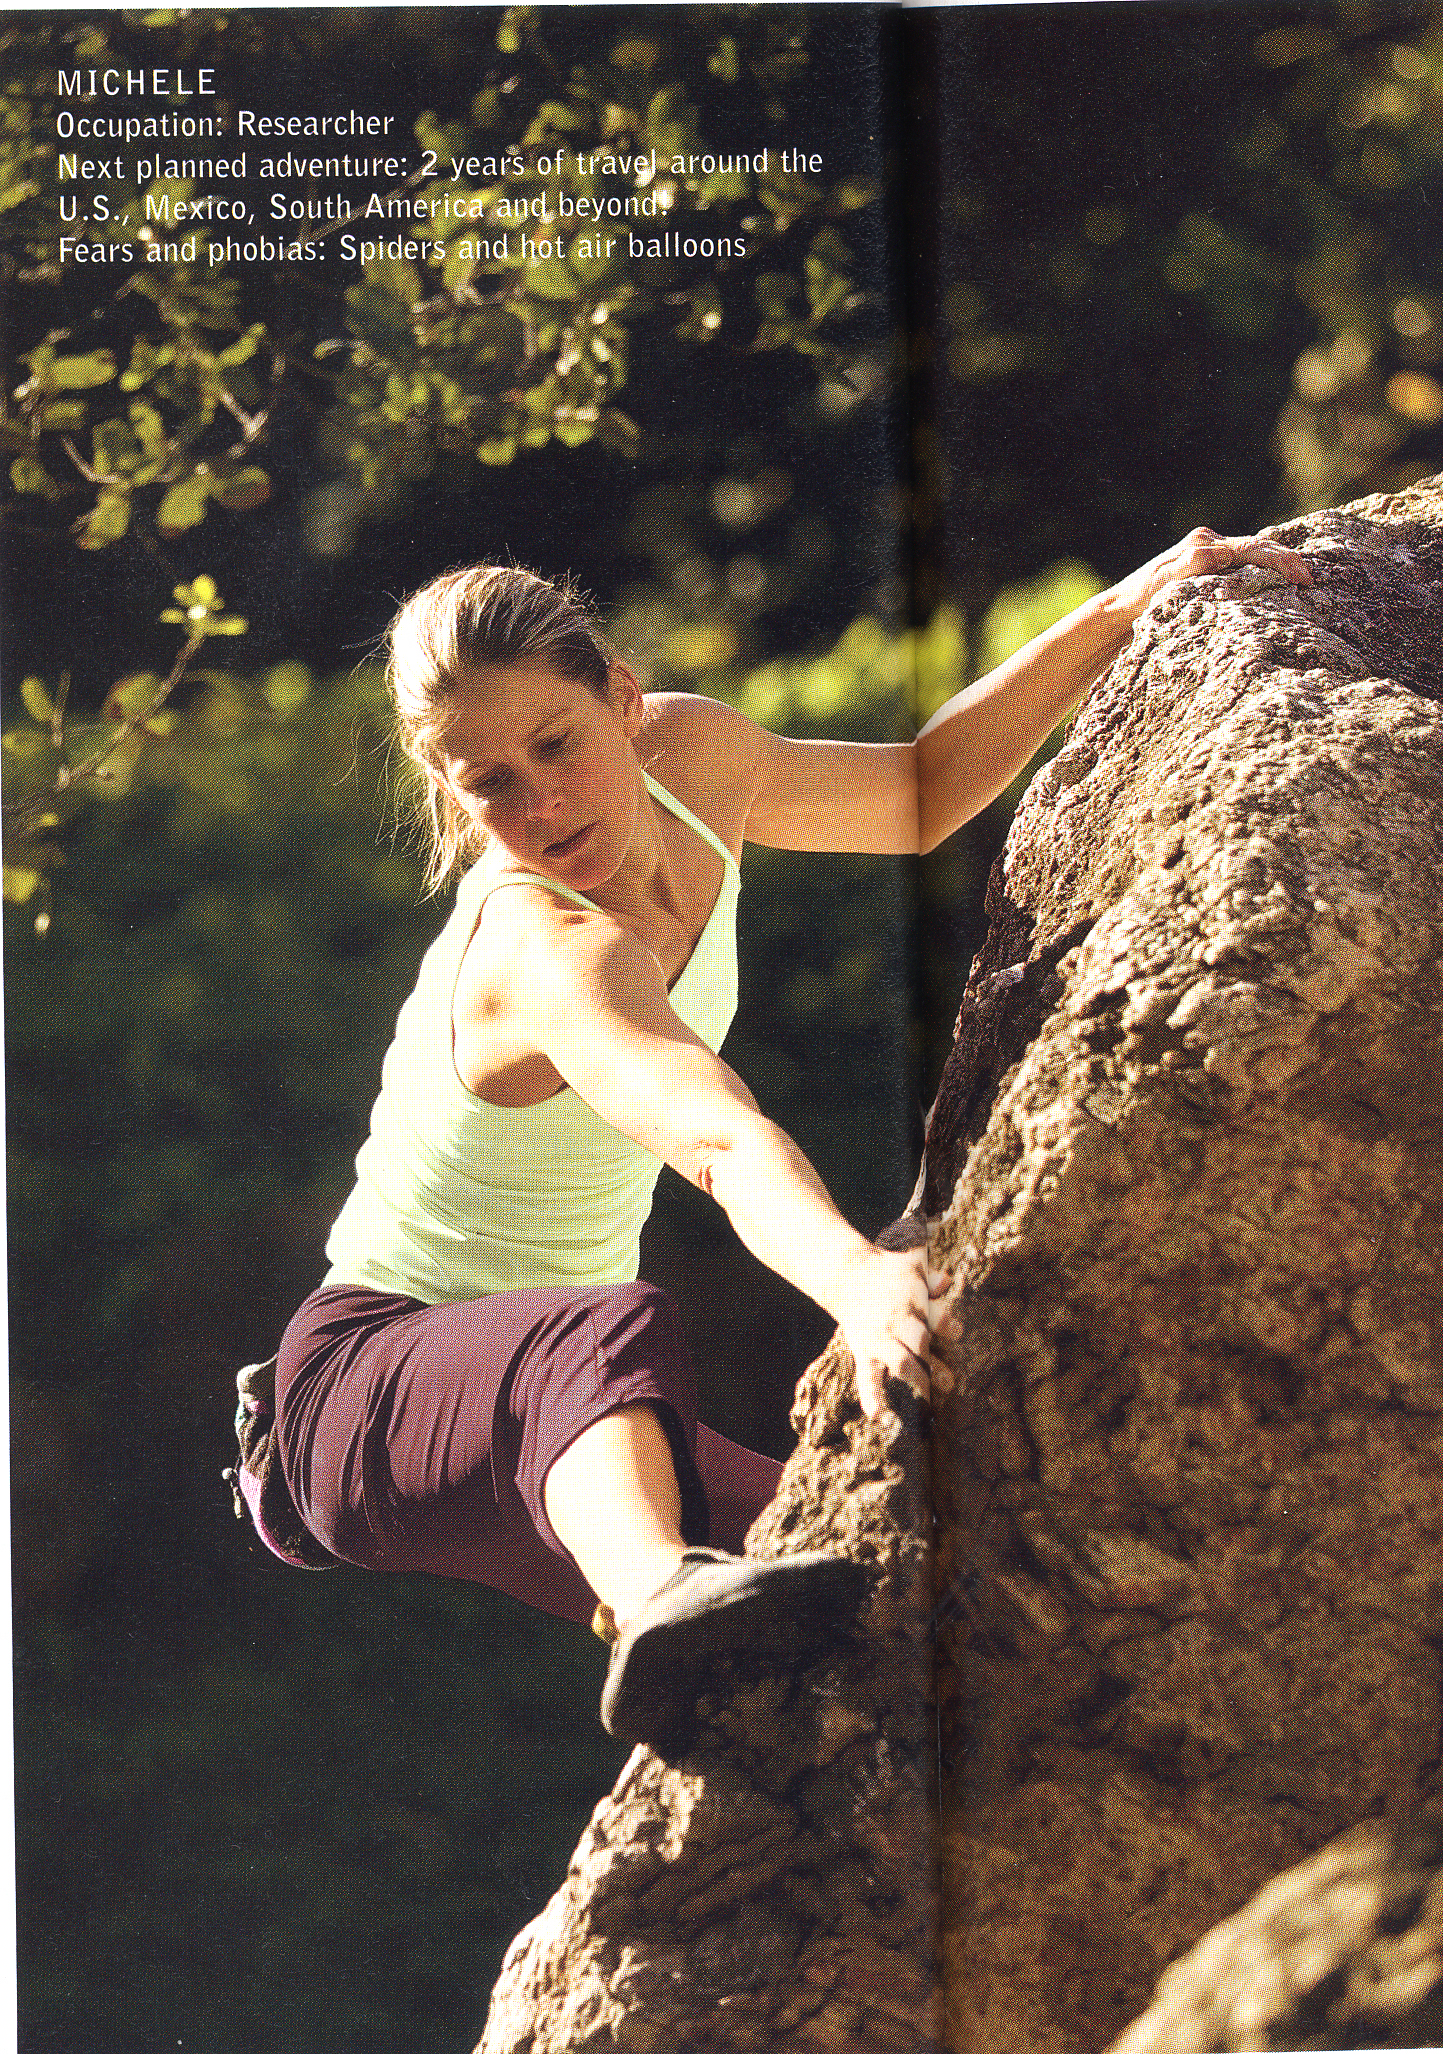
Behind every nipple is a boob and in some cases, a large one, as my bustier friends have reminded me. Acknowledging that I am small breasted, I understand that larger breasts feel better with the support a bra gives. But consider that bras are a very modern invention. Prior to bras and other containment contraptions, women’s breasts were wild and free. Feral breasts (those that have never been held captive by bras) have a better opportunity to develop the capacity to hold their own weight without harmful impacts on other body parts. As a young, wild pair of breasts develop, ideally the natural movements of a the girl’s upper body would develop intrinsic and extrinsic breast-supporting fascial, ligamentous and muscular structures with appropriate strength and yield to allow her breasts to move naturally with ease. I say ideally, because most developing girls do not engage in anywhere near enough natural upper body movement to develop these tissues. Natural movements are those that would occur if we had to complete our essential activities of living without any modern convenience – performing the tasks that our bodies evolved over hundreds of thousands of years to do like walk, climb, hunt, drag, dig, gather, build shelter, and squat to birth, bathroom, cook, and rest. Our early ancestors used their upper bodies to dig, push, pull, hang, climb, throw spears, make tools, lift, and carry their few possessions, including their children. Imagine using your body to do/make everything you need to survive in this world! That’s what our bodies evolved to do. Our boobs evolved to support themselves.

Can you just stop wearing a bra altogether? A cups, yes! Larger than A cup, take heed. An analogy may help. Imagine there was a bra for your head that supported it on your neck from the time of your birth until you were 20 years old. For 20 years, you never had to use the supporting ligaments, musculature, and bones of your cervical spine, shoulders, chest, etc. to keep your head in place. At 20, the head bra is removed and suddenly you are required to hold your head up with tissues that have never carried the loads that a bobbing, weaving, shucking & jiving head produces. Trouble.

This is the state of our breasts. We put brathotics on as little girls as soon as our “teacakes” start to form, training our tissues to be nonfunctional. We band, strap, seam, wire, lift, separate, compress, and pad them throughout development, never allowing our suspensory ligaments to bear the weight of our breasts and the loads they produce while moving. Consequently, when we move in ways that cause them to swing or bounce, our weak, underused tissues can’t support us and it is uncomfortable or even painful, so we band, strap, seam, wire, separate, compress, and pad them even more.

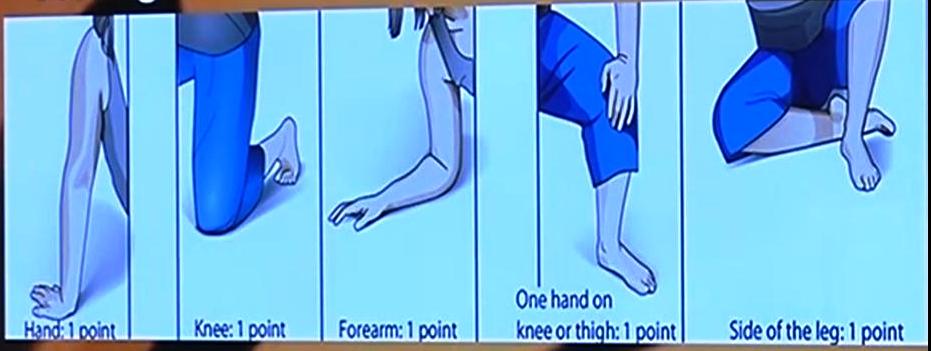
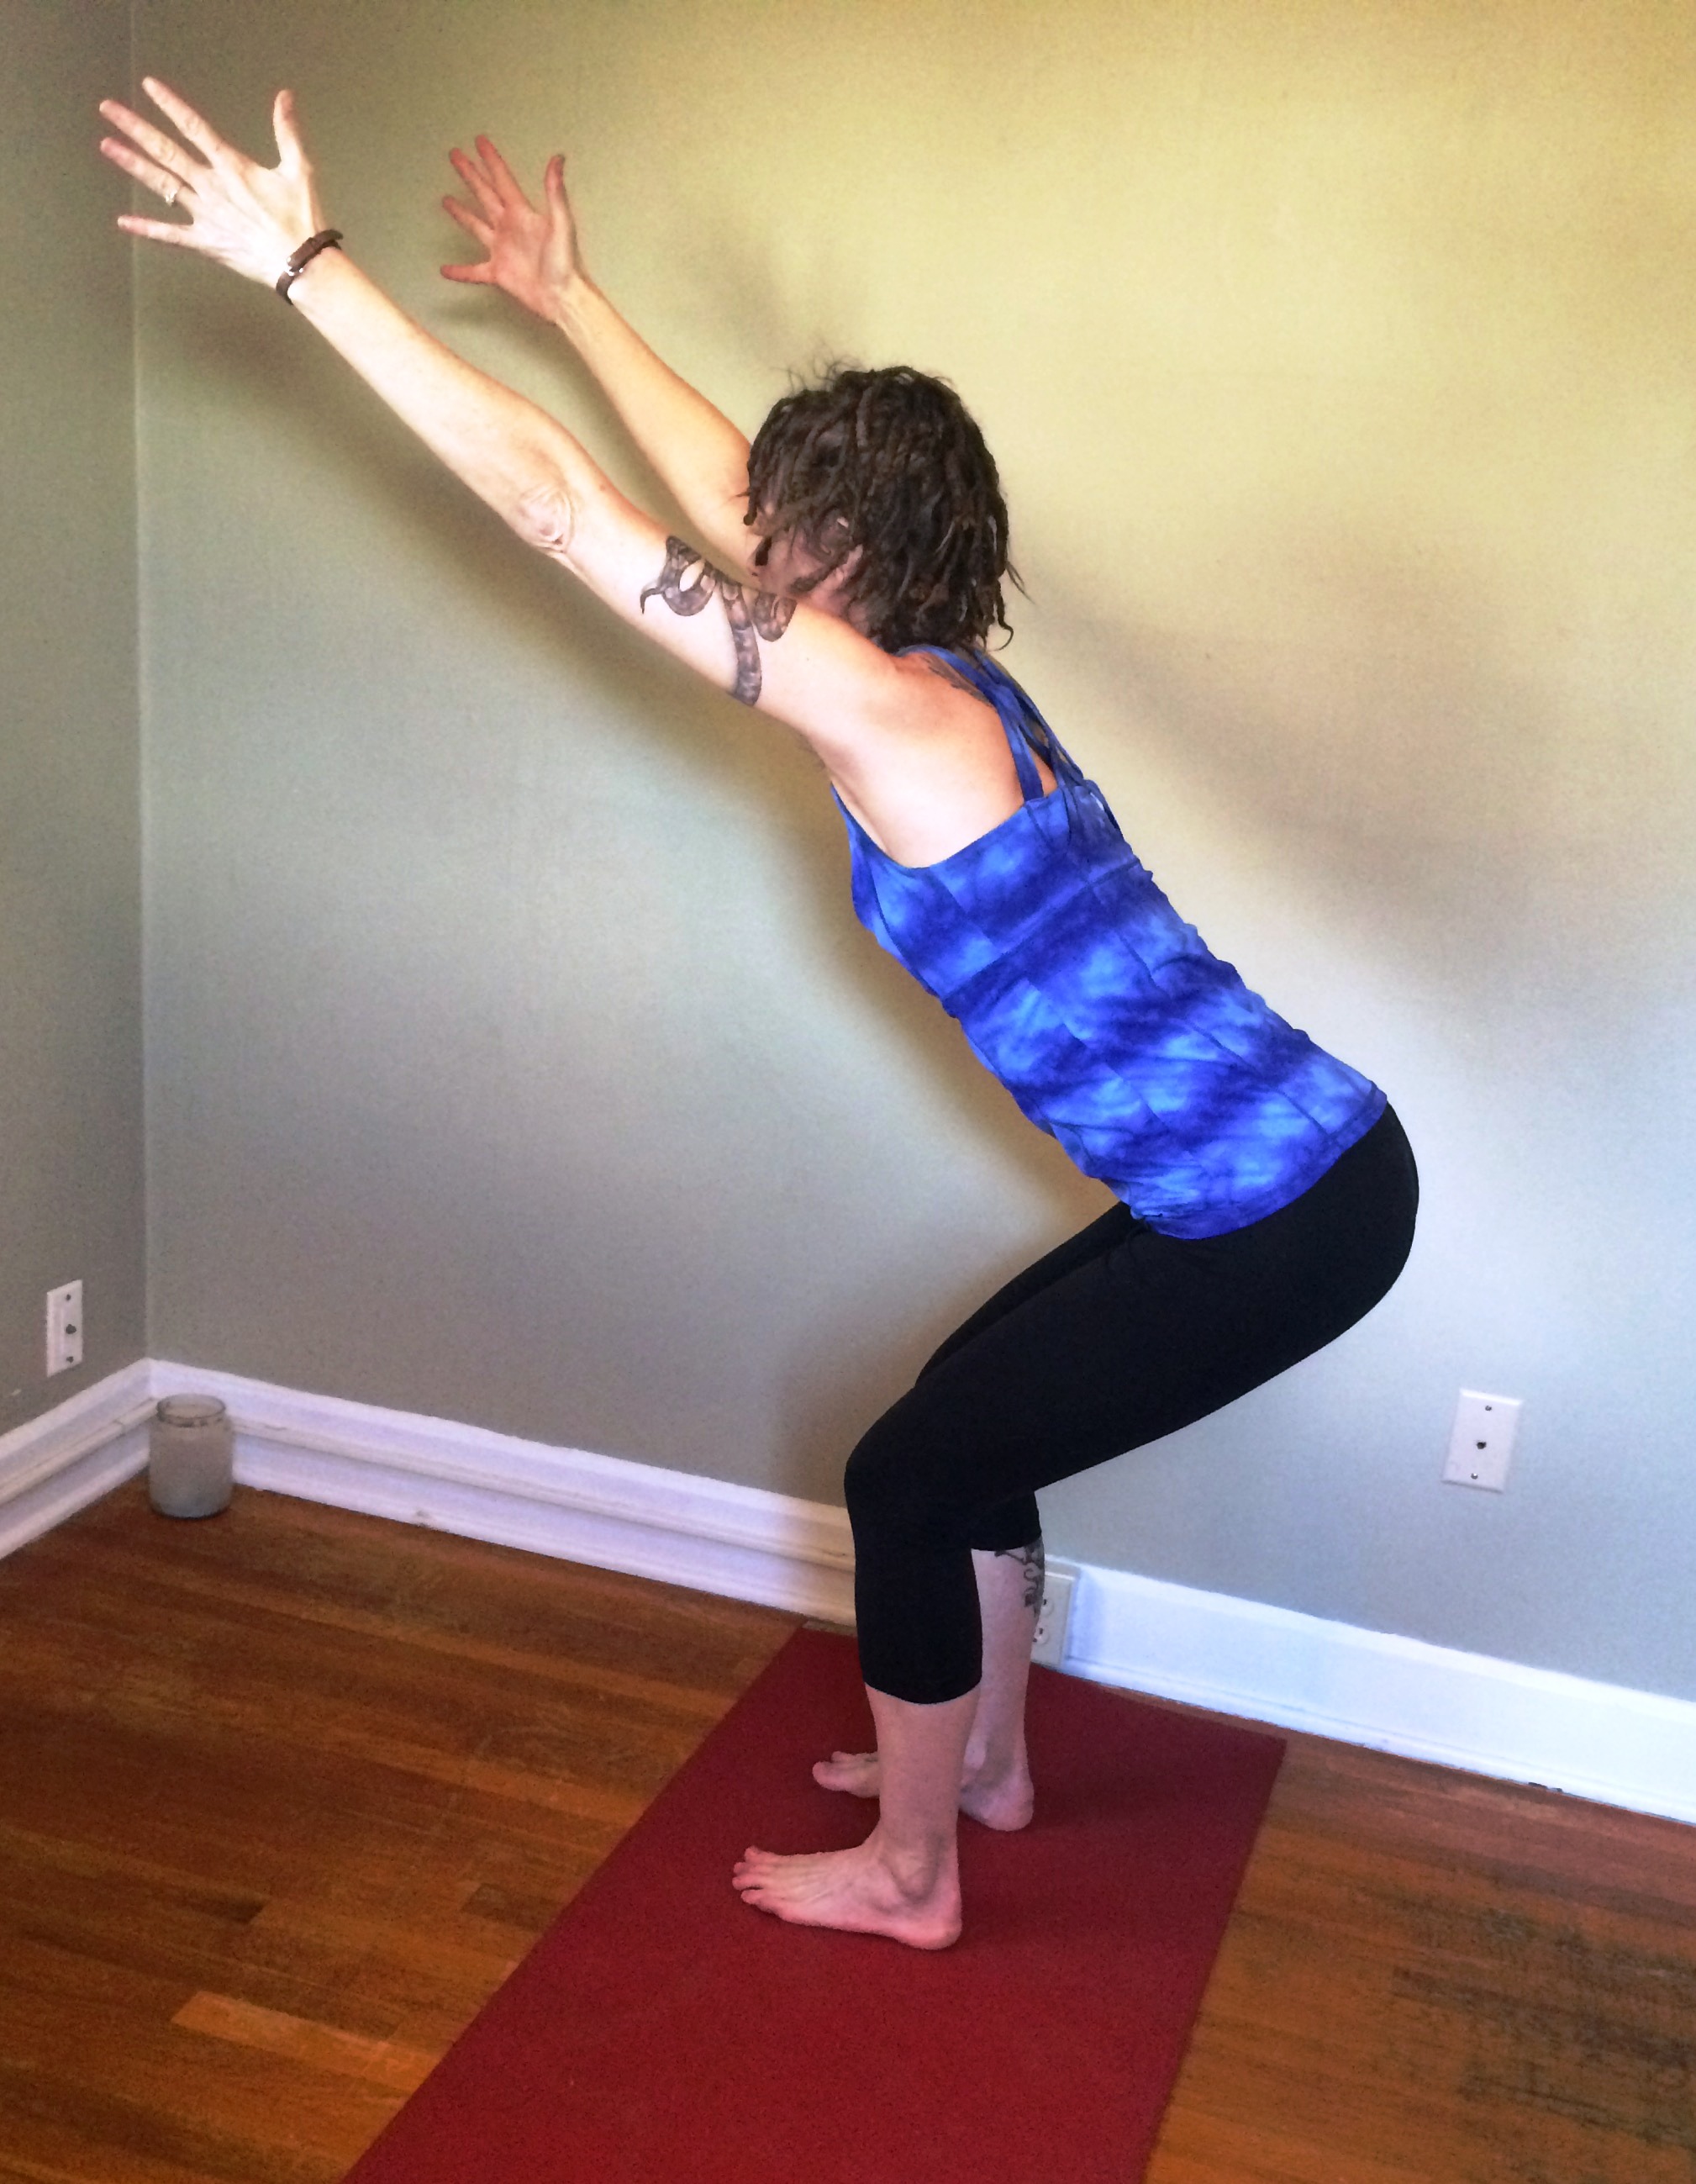
If you are not strong enough to hang from a bar for several minutes, pull or push up your own body weight multiple times, or carry your heavy book bag with your arms for several miles, then your breasts and their support system are not strong enough to carry the loads produced. You would benefit your whole body health by building the breast system via large daily doses of varied load producing movements of your shoulder girdle to include pushing, pulling, reaching, lifting, hanging, carrying, climbing, crawling, pressing up, pulling up, dipping down, etc. You can achieve many of these movements and loads by simply walking with a healthy arm swing, gardening and yard work using basic hand tools, and playing on a good jungle gym set in your local park.

If, after improving the health of your breasts and their support system, you choose to move toward wild breasts, do so slowly and in stages. If you wear the strongest support like Title Nine’s “Booby Trap,” then ramp down to the next most supportive. Put your bra on later in the morning, and take it off earlier in the evening. Remove it when your loads are less – eating dinner, watching TV, and sleeping. It could take months or even years to transition out of your brathotics, so take your time and do the necessary work.

Back to Title Nine and other producers of fashion and health material for women: please stop referring to breasts as “the gals,” “the girls,” “teacakes,” “cabbages” and other ridiculous names. Stick to the B words – breasts, boobs, or bosom. And furthermore, healthy breasts with a functional breast support system (your own tissues) would never need to be “contained,” “controlled,” “conquered,” “molded,” “locked down,” or “kept in place.”

Title Nine

Namaste, Michele, who credits my teacher, biomechanist Katy Bowman, for my understanding of boob loads.

Modifying Utkatasana with Smart Alignment

In yoga, in exercise, in athletic training, we’ve always been told – and if we are teachers, trainers, or coaches – we’ve always instructed to keep your knees from going beyond your toes in lunge-type positions. It’s conventional wisdom. A knee that shoots out over your toes is no longer supported vertically by the bones of your lower leg and in this  compromised position, it is being asked to hold the weight of your pelvis, torso, and head. Your knee joint is not designed for this type of load. Yet. Yet, what do we do in Utkatasana aka chair pose? We send both knees out over the toes and amass the weight of our pelvis, trunk, and head onto not one but two unsupported knees. Two bad knees are better than one, I suppose.

With Smart Alignment in Utkatasana, your knees don’t shift forward when they bend, but instead, your lower legs remain near vertical and your untucked butt moves back. Thus, the weight of your hips, torso, and head is held not by your knees but by your hamstrings and gluteus maximus – the big guns.

The  functional benefit of engaging your hams and gluts is the role that they play in pelvic floor health. Who cares? You should. Symptoms of a weak pelvic floor can present at any age and include urinary incontinence, fecal incontinence, and organs prolapsing out of your vagina or anus.  Known as pelvic floor disorders, they effect both men and women, regardless of reproductive status.

Healthy gluteal muscles are what provide optimal length to your pelvic floor muscles, which run between your sacrum (lowest section of your spine) and your pubis aka “pubic bone.” Your pelvic floor muscles, when they are at  optimal force generating length, are long, taut, yet supple; and are in the perfect condition to help hold up your pelvic organs and allow you to open and close your bathrooming muscles. Your gluteal muscles keep your pelvic floor muscles at this optimal length by keeping your sacrum from counternutating, or moving your tailbone anteriorly toward your pubis. Unless, that is, you are not using them. If your tailbone moves forward – think butt tuck – it creates slack in the pelvic floor muscles, which signals them to contract to create tension to hold everything up and in. Your pelvic floor is not meant for long term force generation aka constant contracting. When it is constantly contracting, it does not become stronger, it becomes weaker. A contracted pelvic floor pulls your sacrum even more forward – a negative loop you want to avoid. Utkatasana aligned with the knees shooting over the toes is suboptimal alignment for using your butt muscles, thus suboptimal for your pelvic floor.

If you are regularly practicing Utkatasana, begin to use your posterior leg muscles as I’ve described. This will result in you essentially squatting each time, which is about the best thing you can do to ensure the long term health of your pelvic floor, because it is the best thing you can do build your butt. I can’t say it any better that Jonathan FitzGordon at CoreWalking Blog, when he wondered about disappearing butts “The butt, gluteus maximus needs to be big and strong. It should fill in your pants. That is the simplest way to describe it. The space between the belt and the hamstring in your pants should be full to exploding with a supple gluteus maximus.”

Classic Utkatasana

Classic Utkatasana

This is classic Utkatasana with the phantom yogini’s knees shooting forward. I tried to pose for this picture, but was not willing to sacrifice my knees for the cause. I won’t mention the rib thrust that is happening here. Nope, I won’t.

Utkatasana with Smart Alignment

Utkatasana with Smart Alignment

This is a smarter alignment for Utkatasana. Knee saving, butt firing, pelvic floor lengthening happiness. Note my neutral spine – it did not change shape from Tadasana, but retained its natural curvature. Note my lower legs – shins & calves are darn near vertical.

Utkatasana with lordosis and rib thrust.

Utkatasana with lordosis and rib thrust.

Sometimes, I see this presentation – knees forward, hyper lordodic spine, and rib thrust. If this were my student (actually she is) I would place my hands on her hips and guide her back until her shins are vertical. I would place my hands on her lower ribs and help her to rotate then down and in. That would likely resolve the lordodic lumber spine.

Utkatasana with butt tuck

Utkatasana with butt tuck

More often, however, i see this presentation – knees forward, butt tucked, flat lower back. Yoga teachers, this is what often happens when you cue to “drop your tailbone down.” This is a pelvic floor killa.

Utkatasana without external hip rotation

Utkatasana without external hip rotation

In this presentation, my external hip rotators are not firing, thus my knees knock together resulting in improper tracking which causes heat, friction, and eventual pain and degeneration of my knee joints. Ouch. This is fixed by externally rotating my hips so that my knees track forward in the same channels as my anterior superior iliac spines (ASIS) aka pelvic bones.

Utkatasana internal rotation of hips

Utkatasana internal rotation of hips

By bringing my feet together, it might appear that I have fixed my knees, but its a lie. If I introduced a proper external rotation in my hips, I would likely have a small space between my knees. As soon as my knees touch, the tendency to press into each other for support is there and that will take my knees into poor tracking, albeit less severe than the previous image.

Utkatasana with smart alignment

Utkatasana with smart alignment

Here I present knees that are safely tracking in the same channels as my pelvic bones due to the engagement of my external hip rotating muscles.

Utkatasana with smart alignment

Utkatasana with smart alignment

Namaste, Michele

Natural and Ladymade Work Surfaces for Your Feet

We spend most of our waking time wearing shoes and when we walk, it is on flat, artificial surfaces. Thus, the intrinsic muscles of our feet are weak and feel tight and have limited ranges of motion and almost no dexterity. We are a nation racked by painful feet, fallen arches, and dependency on orthotics and orthotic-like features designed right into our shoes that keep us further than ever from healthy, strong feet with great circulation and dexterity.

I write and study at a standing work station – sometimes for hours. I am constantly cycling through various exercises and props to strengthen, stretch, and mobilize my feet, ankles, and lower legs. To stimulate and innervate the bottoms of my feet, I often drape my weighted foot over a tennis, lacrosse, or racquet ball, as i wrote about last month. But I’ve been dreaming about making a DIY cobblestone mat to help prepare my feet for what should be a full Spring, Summer, and Fall of daily barefoot walks on natural terrain. So, finally, I got busy. While neither is quite finished and I have several others planned, check out the newest editions to my foot prop collection.

smooth landscaping stones

smooth landscaping stones

Smooth landscaping stones, a few pine cones, and a couple of wooden darning eggs are spread out in a boot tray. I still need to fill in a few spaces. The large size of the tray allows a vast array of foot positions, which means my feet (and therefore my entire body) experiences a vast number of loads to the tissues.

woodenbeads2

While not natural, I appreciate the loads provided by these wooden beads. They feel a a bit sharper than stones, more like gravel. The bright colors are cheerful and make me happy whenever I look down at my feet. These beads are temporarily renting space on a cookie sheet, but will soon be moving into a more permanent home on another boot tray.

If your feet are painful, feel tight, and are not very mobile, please spend several weeks doing the many exercises I write about on this blog. Continuing with the exercises, spend several more weeks walking barefoot inside on carpet, linoleum, wood, in that order. Start with less time and increase your barefoot time as your feet get used to the new loads. Continuing with the exercises and barefootedness, spend several more weeks  draping and rolling your foot over a tennis ball. You could injure your feet if you go from zero to stones & beads too fast. Seriously. You’ve gone this long, what’s your hurry?

landscapingstones2woodenbeads

Namaste, Michele

Modifying Tadasana with Smart Alignment

This post is in the context of a common yoga posture that to non-yogis looks just like standing; thus the instructions given are applicable whether you are standing around in yoga or in the world.

Yoga’s Tadasana aka Mountain Pose is taught with a variety of cues. Yoga lineage, aesthetics, cultural postural influences, and the desire to capture a certain energetic expression are often woven together in what can be a confusing tapestry of instructions that differ from teacher to teacher, class to class. One teacher may tell you to contract your gluteal muscles, while the next says to relax your butt. Oftentimes yoga teachers don’t question why they give a particular cue or what it is good for. Often we give a cue because we learned it from another teacher or from a book, article, or website. Maybe it  made sense at the time, but in the interim, we’ve forgotten why. It could be that certain cues are part of a yoga lineage that we follow closely or let loosely inform our teaching. But I propose that most of the time, most yoga teachers have not given much thought to or challenged the wisdom of most of the cues they give. Bring it.

The cues you are about to read for Tadasana (or standing for non-yogis) are not from a yoga lineage or given to make you look or feel a certain way. They are based on my understanding of the optimal orientation of bony markers relative to each other and to specific planes of motion that have the greatest chance of putting your muscles at their best length for maximum force generation; and so that you optimize the flow of oxygen via blood to feed your cells, energy via nervous system to move your muscles, and cellular waste removal via your lymph system. In other words, they are alignment based.

When I cue yoga poses, I avoid giving specific measurements like stand with your feet 6 inches or two fist widths apart or four feet apart. A 6’4 person and a 5’2 person each having his feet 4′ apart is going to experience very different ranges of motion and loads relative to his height & leg length. When I can, I use distances that are relative to other body parts. For wide stances, when this is not possible or is arbitrary, I simply instruct to “take a wide stance” and then let the pose dictate the actual distance needed. An arbitrary cue for Virabhadrasana 2 aka Warrior 2 is to “step your feet wide so that they line up beneath your hands when your arms are outstretched.” If you offer this cue, I am curious why.

The following cues, from the feet up, list the body areaa, common cues, and an alignment-based cue that I’ll call “Smart Alignment,” because it is biomechanically informed. I try to provide a thorough but concise rationale for my instructions. Using these cues to position yourself in Tadasana and whenever you are standing is practice for aligning your body during movement for optimal flow.

Tadasana Alignment

How far apart should my feet be from each other?
Common cues: feet together, feet hips width apart, feet 6 inches fists apart; feet 2 fists apart
Smart Alignment: A smarter cue would be to place your feet pelvis width apart. This means to space your feet the same width as your pelvic bones. Your pelvic bones are sometimes called your hip pointers or even your hip bones, but those are misnomers as your hip is a joint made of your pelvis and femur and is located on the lateral side of your pelvis. Your pelvic bones are the “sharp” bones on the front of your pelvis that would poke into the floor if you were to lie on your belly. The bony markers for the feet are the centers of the front of the ankles.
Rational: When your feet are pelvis width apart, you are in the best position to build bone strength in your ankles because the force of gravity tracks vertically down your femurs. If your feet are closer together or further apart, you lose the vertical requirement of gravity to optimize bone density.

How should I point my feet?
Common cues: I rarely hear cues for how to point your feet in Tadasana, but know that some teachers instruct students to point their second toes straight ahead
Smart Alignment: A better cue would be straighten the outer edges of your feet. You can gauge this by stepping to the side edge of your mat and lining up the lateral edge of your foot along the edge of your mat. The edge of the yoga mat should align with your malleolus (lateral ankle bone) and bisect the center of the baby toe joint at its base (metatarsophalangeal joint). Place your other foot pelvic width apart and try to align it similarly, but without the advantage of having that straight line. A true geek would whip out a level…just sayin.
Rational: I go over this in detail in an earlier post on building a bunion.

How do I distribute my weight?
Smart Alignment: Shift all of your weight back into your heels
Common Cues & Rationale: I wrote extensively (for a blog, anyway) about common yoga cues and the rational for getting your weight back.

Do I squeeze or relax my quadriceps?
Common cues: Squeeze your quads; lift your kneecaps
Smart Alignment: Release or lower your knee caps aka stop gripping your quadriceps
Rational: If your quadriceps are gripping, squeezing, or contracting, your kneecaps will be lifted. Contracted quads not only draw the patella aka kneecap up, they also pull it back into the joint capsule causing increased heat and friction, which leads to joint degeneration. In yoga, there are occasionally times that you might benefit from the stabilizing effect of engaged quads – when you are learning to balance in one legged postures or balancey two legged postures like parivrtta trikonasana; or if you want to increase the stretch of your hamstrings in parsvattonasana, trikonasona, or prasarita padattonasana via reciprocal inhibition, a technique used to signal the stretching muscle to relax by contracting its antagonist muscle on the opposite side of the joint. But you should be able to fire the quads on or off (mostly off) at will. If you are not aware of what your quads are doing, then you may be damaging your knee joints. Most people are unknowingly gripping their quads.
**Please see FootLove Yoga Facebook page for video of lifting & lowering your kneecaps, then give it a try. If you are unable to lift your kneecaps, then they are already lifted, meaning you are already squeezing your quads. To help coax them down, get all of your weight back into your heels, bend slightly at the hips and try again.

What is a “neutral” pelvis? Should I squeeze my butt?
Common cues: Squeeze your butt; drop your tailbone; tilt your pelvis forward and back a few times and stop in the middle
Smart Alignment: Line up your pelvic bones and your pubic bone in the coronal or frontal plane. If you were to press your front side against a wall, these three bones of your pelvis would touch the wall; said another way, if you lie down on your back, your pelvic bones and pubic bone will be at the same height.
Rationale: This alignment maintains the structural integrity of the natural lordodic curve of your lumbar spine, optimizes hamstring length for maximum force generation, and provides an appropriate amount of tensioning in your pelvic floor muscles. When you retrovert or posteriorly tilt your pelvis, as often happens as a result of the well-intentioned cue to “drop your tailbone,” you compromise the natural curve of your lower spine, grip your quads, change the length of your hamstrings, and increase the likelihood of pelvic floor disorders.

What about my abs?
Common cues: draw your bellybutton towards your spine; engage your abs; engage your transverse abdonimus, suck your belly in
Smart Alignment: Lower or drop your ribs down and back/in so that the most prominent bones of your lower rib cage align in the frontal plane with your pelvic and public bones. Stop Thrusting Your Ribs!
Rationale: When you do this, you will feel and probably look a bit shlumpy. It’s ok. I will post soon on what that means and what you can do about it. A rib thrust is when you lift and push forward your rib cage. Imagine the way an Olympic gymnast lifts her chest and thrusts her ribs forward before she starts a routine. To do this, she simultaneously lifts her sternum aka “opens her heart” in yogaspeak (warning, a post is forthcoming on this misinterpreted and potentially harmful instruction) and pushes her rib cage forward, the combined actions of which rotate the top of the rib cage back, causing a shearing motion of the lowest vertebra of the thoracic spine to translate or shear forward on top of the uppermost lumbar vertebra. Unfortunately, the vertebrae are not designed for a shearing motion. A rib thrust puts your rib cage out in front of your pelvis, causing a non-optimal change in the lengths of the abdominal musculature and attendant change in interabdominal pressure, increased vertebral disc compression, and pelvic floor tensioning. It’s a cascade of ugly but is the predominant posturing of ribs in yoga. You Must Stop Thrusting Your Ribs.
The Good News: Ending rib thrusting is very challenging both physically (you’ve been holding this muscle pattern for years) and emotionally, because the result does not look like what you’ve always considered “good posture.” But here’s the silver lining. When your pelvis and ribs are aligned with their bony markers in the frontal plane, it puts your abdominal musculature at optimal force generating lengths which means they are constantly turned on and toned. If you align yourself in this way, you can say goodbye to crunches and other ab work that only seemed necessary because for most of your life you have not been firing your abs naturally by aligning your pelvis & ribs. True story.

Palms forward or not?
Common cues: turn your palms out
Smart Alignment: Externally rotate your shoulders
Rationale: I like to use Tadasana as an opportunity to externally rotate my shoulders, which gives the appearance of turning my palms out, but happens at the shoulders and instead of the wrists. Until you experience in your body what it means to externally rotate your shoulders, a good rule of thumb is when your shoulders are externally rotated your elbows point internally and when you internally rotate your shoulders, your elbows will point externally. Try it. In external rotation, the elbow pits and palms of your hands will face somewhat forward. If the backs of your hands are facing forward, you are likely internally rotated in your shoulders. Life most often puts our shoulders in internal rotation – computer use, driving, doing most things out if front of us – and leads to chronic muscle patterning in the shoulders. Externally rotating your shoulders brings back a lost range of motion.

How did this string get on my head?
Common cues: pretend you have a string attached to the crown of your head and its pulling you up (or some variation on the them); align your ears over your shoulders; lift your chin;
Smart Alignment: Ramp your head up/back.
Rationale: The easiest way to describe this is to visualize its evil twin Computerhead, which is a head that is constantly thrust forward, often coupled with a lifted chin. This causes chronic contractile tension in the back of your neck. The fix is simple. Without lifting your chin, slide your face back like you are making a double chin until your ears stack over your shoulders. Ironically, when you ramp your head up/back, you actually turn on the muscles in the front of your neck/throat, which until now have been locked long in extension and are thus weak and without tone. By making a (temporary) double chin now you could save yourself from a permanent one later. Once you get your head back, you may find that you have a habit of lifting your chin. If so, just let your chin drop a bit to bring the muscles on the back of your neck to optimal length. Dropping your chin will bring your natural eye gaze level with the horizon. A lifted chin, lifts your eyes, causing overuse of the eyeball lowering muscles.

Alignment, like yoga, is a practice, but one that can be done everyday, all day, anywhere.

Namaste, Michele

In 30 Days, You Too Can Type and Play the Piano with Your Toes!

Got your attention? Ok, I made that up, but you can improve the dexterity of your feet. The intrinsic muscular anatomy of your feet is very similar to that of your hands with the exceptions that none of the digits are opposable and there is not  the ability to “cup” your foot as you can cup your palm. In theory, then, your feet should be able to move much like your hands. You need only look at a homunculus, which is a representation of a human, but whose parts or dimensions are mapped to areas of the brain devoted to those parts, to see the vast potential of your feet. In a homunculus, parts of the body that require the highest levels of dexterity have larger representations in the brain, more circuitry, and more neurons per muscle group. As you can see, the feet require a significant amount of brain power, which tells me that there is a lot of wasted potential for dexterity.

Homunculus

Homunculus

You toes, casted inside your shoes for hours, days, weeks, months, years, generations, are weak. They feel tight. You may not have attempted to move them independently of your foot or independently of each other for a very long time. I know a simple (but not necessarily easy) test and exercise you can do to evaluate and strengthen the motor nerves and toe extensor muscles of your feet. This can be done standing, sitting on the floor, or sitting in a chair. Simply lift your big toes (called extension) without lifting your other toes.This gives you an indication of the health of the neural pathway that exists between your brain and your feet. If you are unable to lift your toes, your foot is not properly innervated, circulation to that area is poor, and you are accumulating cellular waste that is not being removed by your lymph system because your circulation is poor. You are negatively impacting your gait since your big toes plays a huge role in gait biomechanics. If you are not toeing off properly in gait, all of your major joints will suffer.

If this is easy, then attempt to keep the big toe lifted, while you lift your second toe to join it. Still easy? Add the third toe, and so on. Try to put them down in reverse order, pinky toe first. Here is a list of variations of the toe extensions in order from easiest to more difficult – for me, anyway. You may find the ordering different for your puddins. Try them first one foot at a time. Once you master them, try both feet together.

Playing the Scales with Your Toes

Toe Lifts

Toe Lifts

  1. Lift big toe, put it down, repeat 10 times. Repeat any of the following variations multiple times.
  2. Lift big toe, keep it raised, lift second toe; lower second toe, lower big toe
  3. Lift big toe, add second toe, add third toe, etc. until you can add each toe; put them down in reverse order, ending with big toe
  4. Repeat #3, but put the toes down in the same order as you raised them, starting with big toe lowering first
  5. Start with the pinky toe and work in reverse, putting them down in reverse – big toe lowers first
  6. Start with the pinky toe, but then lower your toes, lowering your pinky toe first
  7. Once you are able to “play the scales” with your feet, it’s on to typing

Typing with Your Toes

This is very difficult for most people and may take years of moving your bare feet over natural terrain in good alignment and supplemented with loads of corrective foot exercises like those found on this blog. But when you’re ready:

8. Lift your second toe, and only your second toe; place it back down, Lift your third toe, solo, place it back down. Lift each of your toes independently of the others. Practice this every day and in 30 years, you will be able to type with your toes!

 Anatomy Bit. What muscles lift aka extend the toes?

Extrinsic Foot Muscles (has one attachment point on the foot and the other on the lower leg)
Extrinsic Extensors

Extrinsic Extensors

The above image is the dorsal (aka top) of the foot

  • Extensor Hallucis Longus – extends big toe; colored in blue
  • Extensor Digitorum Longus – extends the other toes; colored in yellow
Intrinsic Foot Muscles (both attachment points reside on the foot)
Intrinsic Extensors

Intrinsic Extensors

Above image is the dorsal or top of the foot with a section of extensor digitorum longus in yellow cut away to reveal the intrinsic muscles beneath (orange).

  • Extensor Hallucis Brevis – extends big toe; colored in green
  • Extensor Digitorum Brevis – extends the other toes; colored in orange

Book Alert

The Homunculous comes courtesy of my favorite anatomist/physician/yogi, Ray Long, whom I had the privilege of taking a workshop with in Vancouver, BC last September. It comes from his very excellent and would-be-dog-eared-if-it-wasn’t-of-such-high-quality spiral bound anatomy book Scientific Keys Vol. II: The Key Poses of Hatha Yoga by Ray Long (2008) Spiral-bound. This book comes in a non-spiral bound edition for less money, but I really like the option of having it lie open while I practice asana.

The muscle images come from The Anatomy Coloring Book (4th Edition). This book gives you a multi-dimensional way to learn bones, muscles & ligaments. And coloring is fun!

Yoga and other movement teachers, Ray Long’s book is my go-to book to understand and explain what is happening in my students’ body during postures – what muscles are contracting and how; what muscles are stretching and how; which muscles are helping; and most interestingly, how a student can manipulate her musculature to increase her range of motion during a particular posture. This book absolutely transformed my Virabhadrasana 1 (Warrior 1).

Namaste, Michele

The Best Free Foot Massage

I do my writing and studying at a DIY standing work station. I do it to avoid sitting and the attendant health risks, when done too much. And because if i sit for work, I turn into a big C (uh, that means I place my trunk into the shape of a C) and stay there for hours without moving. When I stand at my work station, I find that I naturally I squirm about more. I capitalize on and enhance this natural tendency to move by giving myself little activities to do. Today, while writing I:

  • stretched my calves on the half round (exercise to be described in a future post)
  • stretched the top of my feet (see future post)
  • Pelvic listed (see future post)
  • Hung out in Vrksasana aka the yoga pose called “tree”
  • Constantly checked my alignment – straightened the lateral edges of my feet, backed my hips up to vertically stack my major joints, dropped my ribs down, released my kneecaps by releasing my gripping quad muscles, aligned my pelvis so that my ASISs (pelvic bones aka hip pointers) and my pubic bone are in the same frontal plane, ramped my head back to get my ears over my shoulders and my eyes level with the horizon
  • Stood on various sizes of balls

If you’ve ever attended a FootLove Yoga workshop or maybe even one of my classes, you have have rolled a lacrosse ball on the bottom of your foot to loosen up the fascial tissues and provide a strong sensory nerve experience. Since beginning to stand at my computer station a few months ago, I have begun to crave these ball sessions, but using softer balls like tennis and racquet balls, and allowing my foot to rest quietly on the ball. As I’ve said before, your feet evolved primarily for walking on varied terrain with hills, bumps, divets, sharp rocks, smooth stones, roots, holes, sand, dirt, grasses, leaves, brambles, water, slick, sloggy, hard, soft – deforming their 33 joints (each!) in a nearly infinite number of positions while naked. The contours of the earth helped to keep our feet supple. While I’m at my standing desk, I use balls of various sizes, textures, and yielding properties to drape my feet over, one foot at a time. After several minutes, I may start to very slowly move my foot over the ball, but often I stay still and try to be present to the innervation or waking up of these areas. Exploring various shapes with your soles stretches your muscles and joints in ways that you likely won’t experience unless you are walking on the natural earth with your feet bare.

standingstation

staticball3

staticball2

If your feet have been immobile for a long time, start slow, with soft balls & shapes, for small amounts of time.

Namaste, Michele